Situation
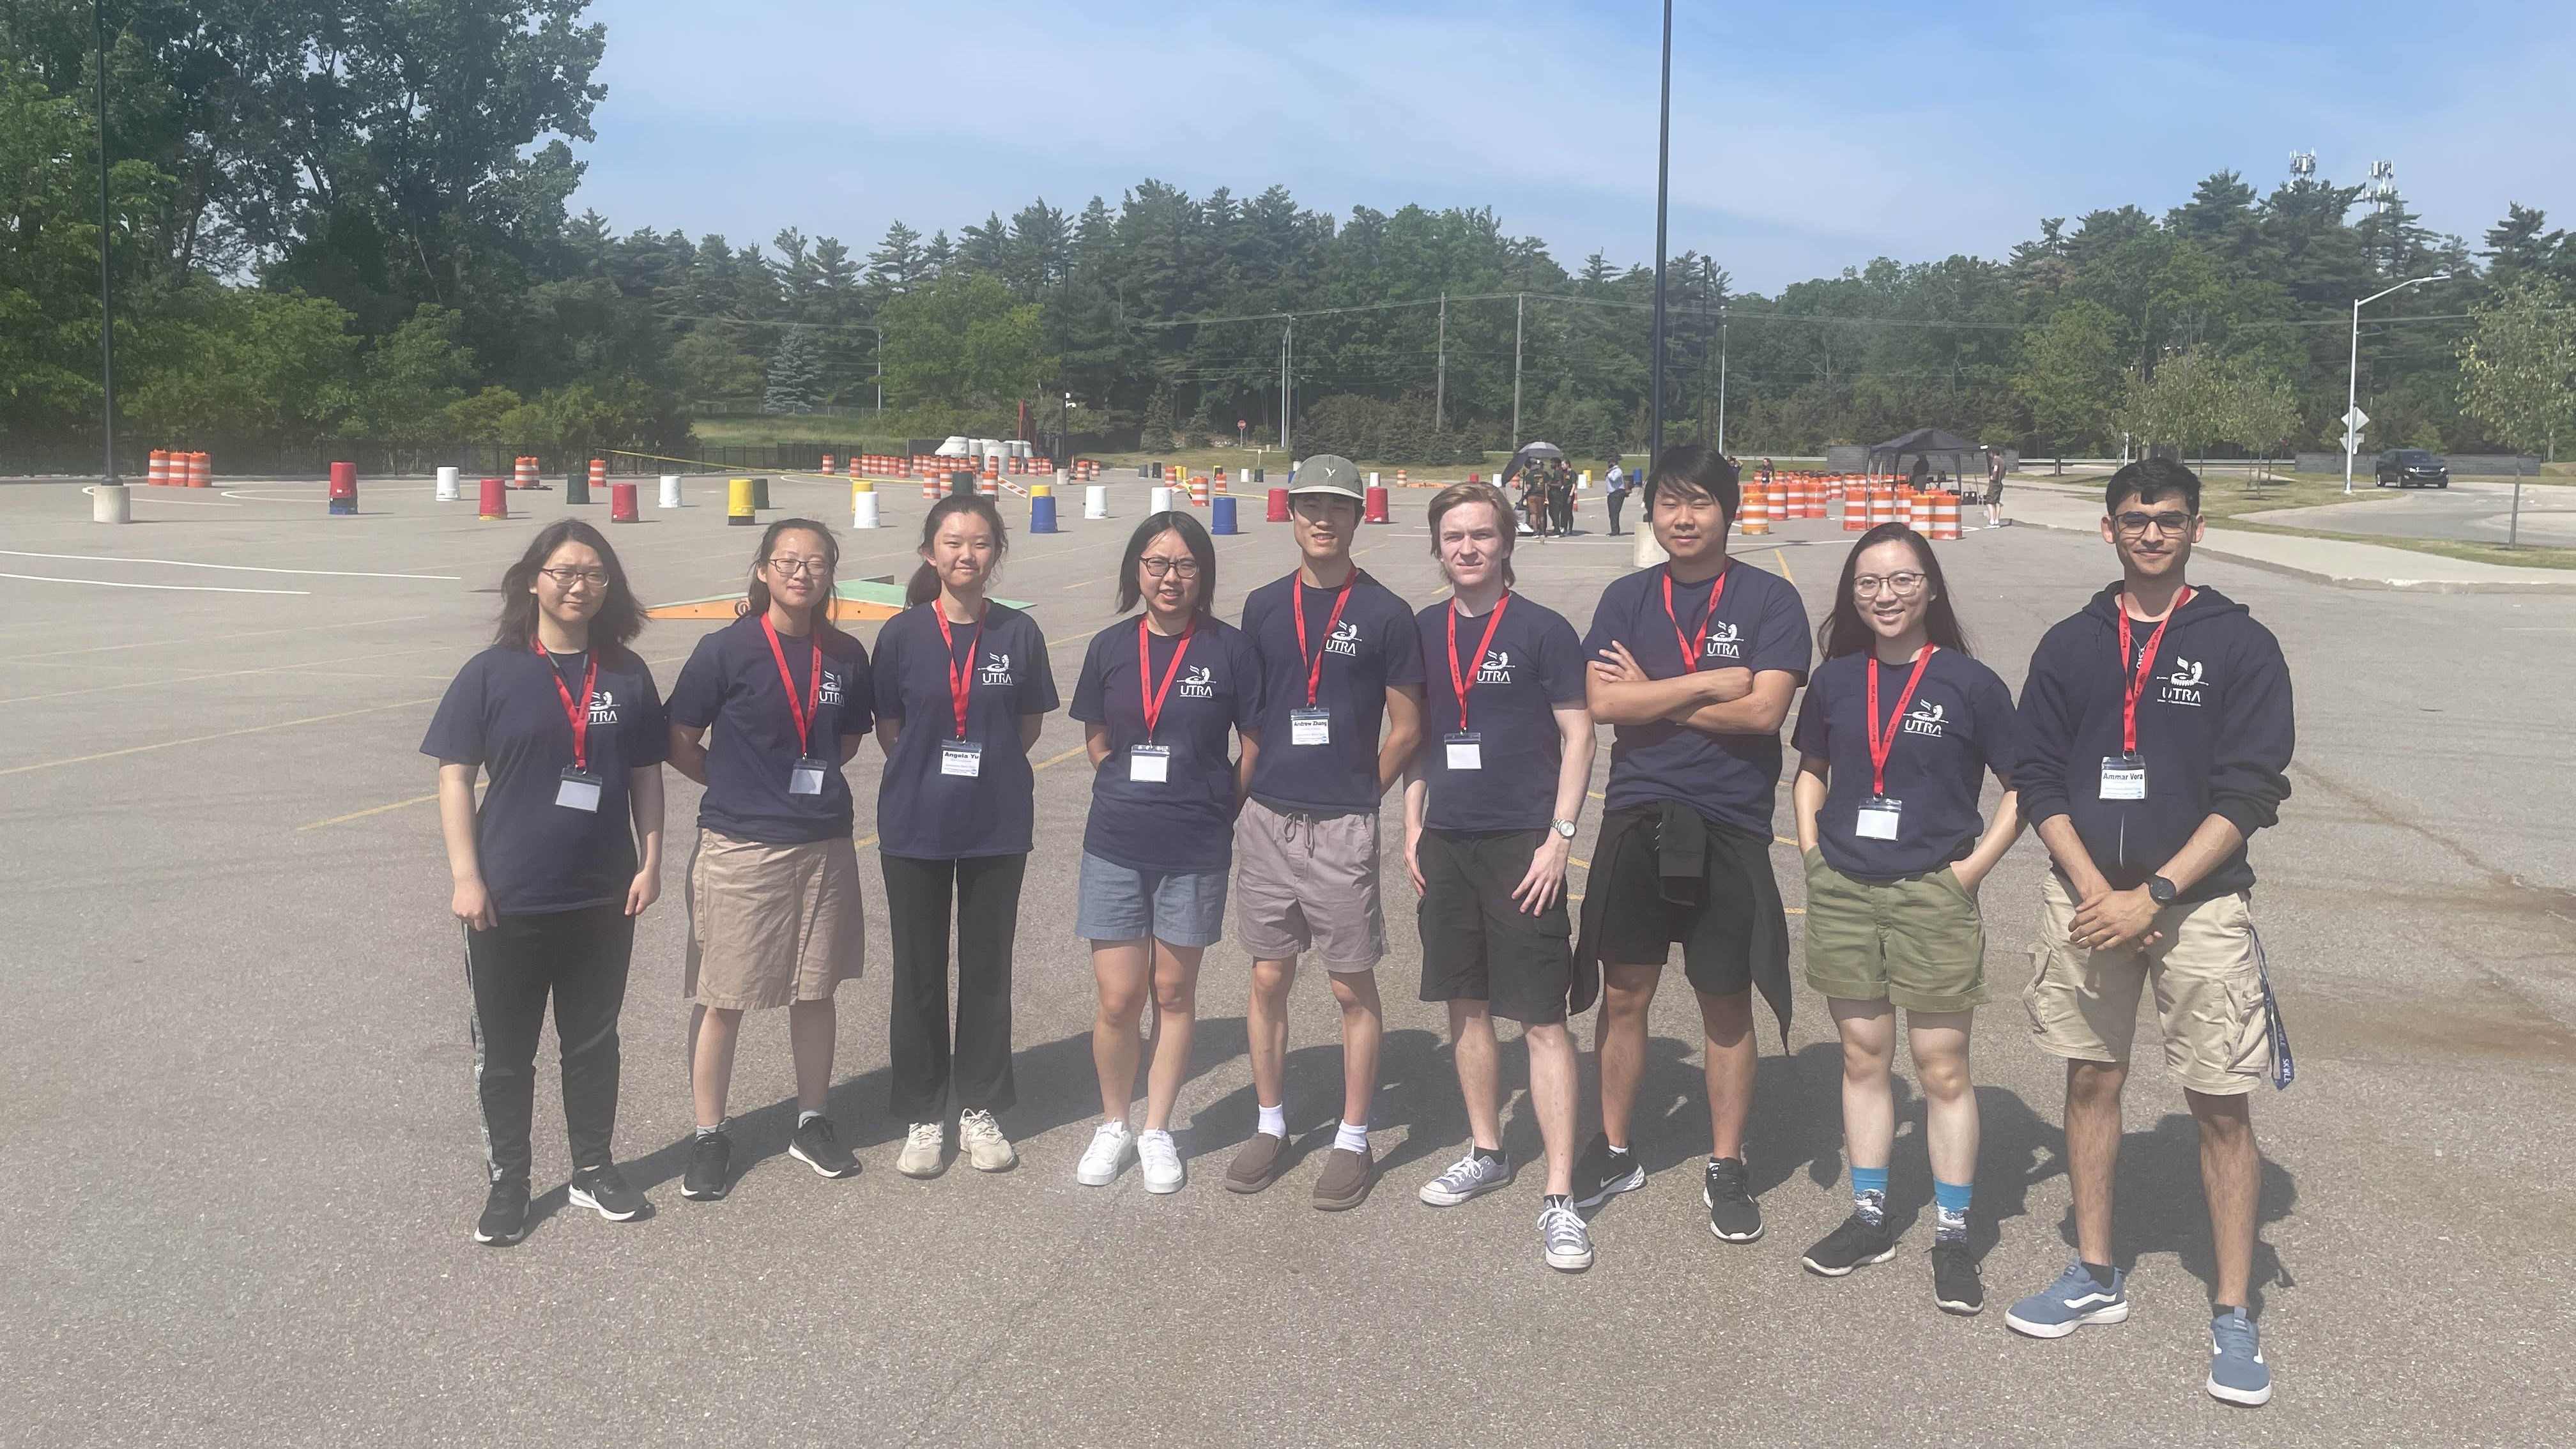
This year caffeine had several mechanical issues: current waterproof enclosure caused electronics to overheat in direct sun, and a Lilliput TV monitor needed mounting for on-board software debugging. I was brought on-board to re-design the waterproof enclosure and to produce a custom TV bracket for mounting the TV monitor to our robot. I led a team of 10 general members to achieve these outcomes, providing them with CAD training and engineering mentorship, as well as coordinating design efforts for the above projects.
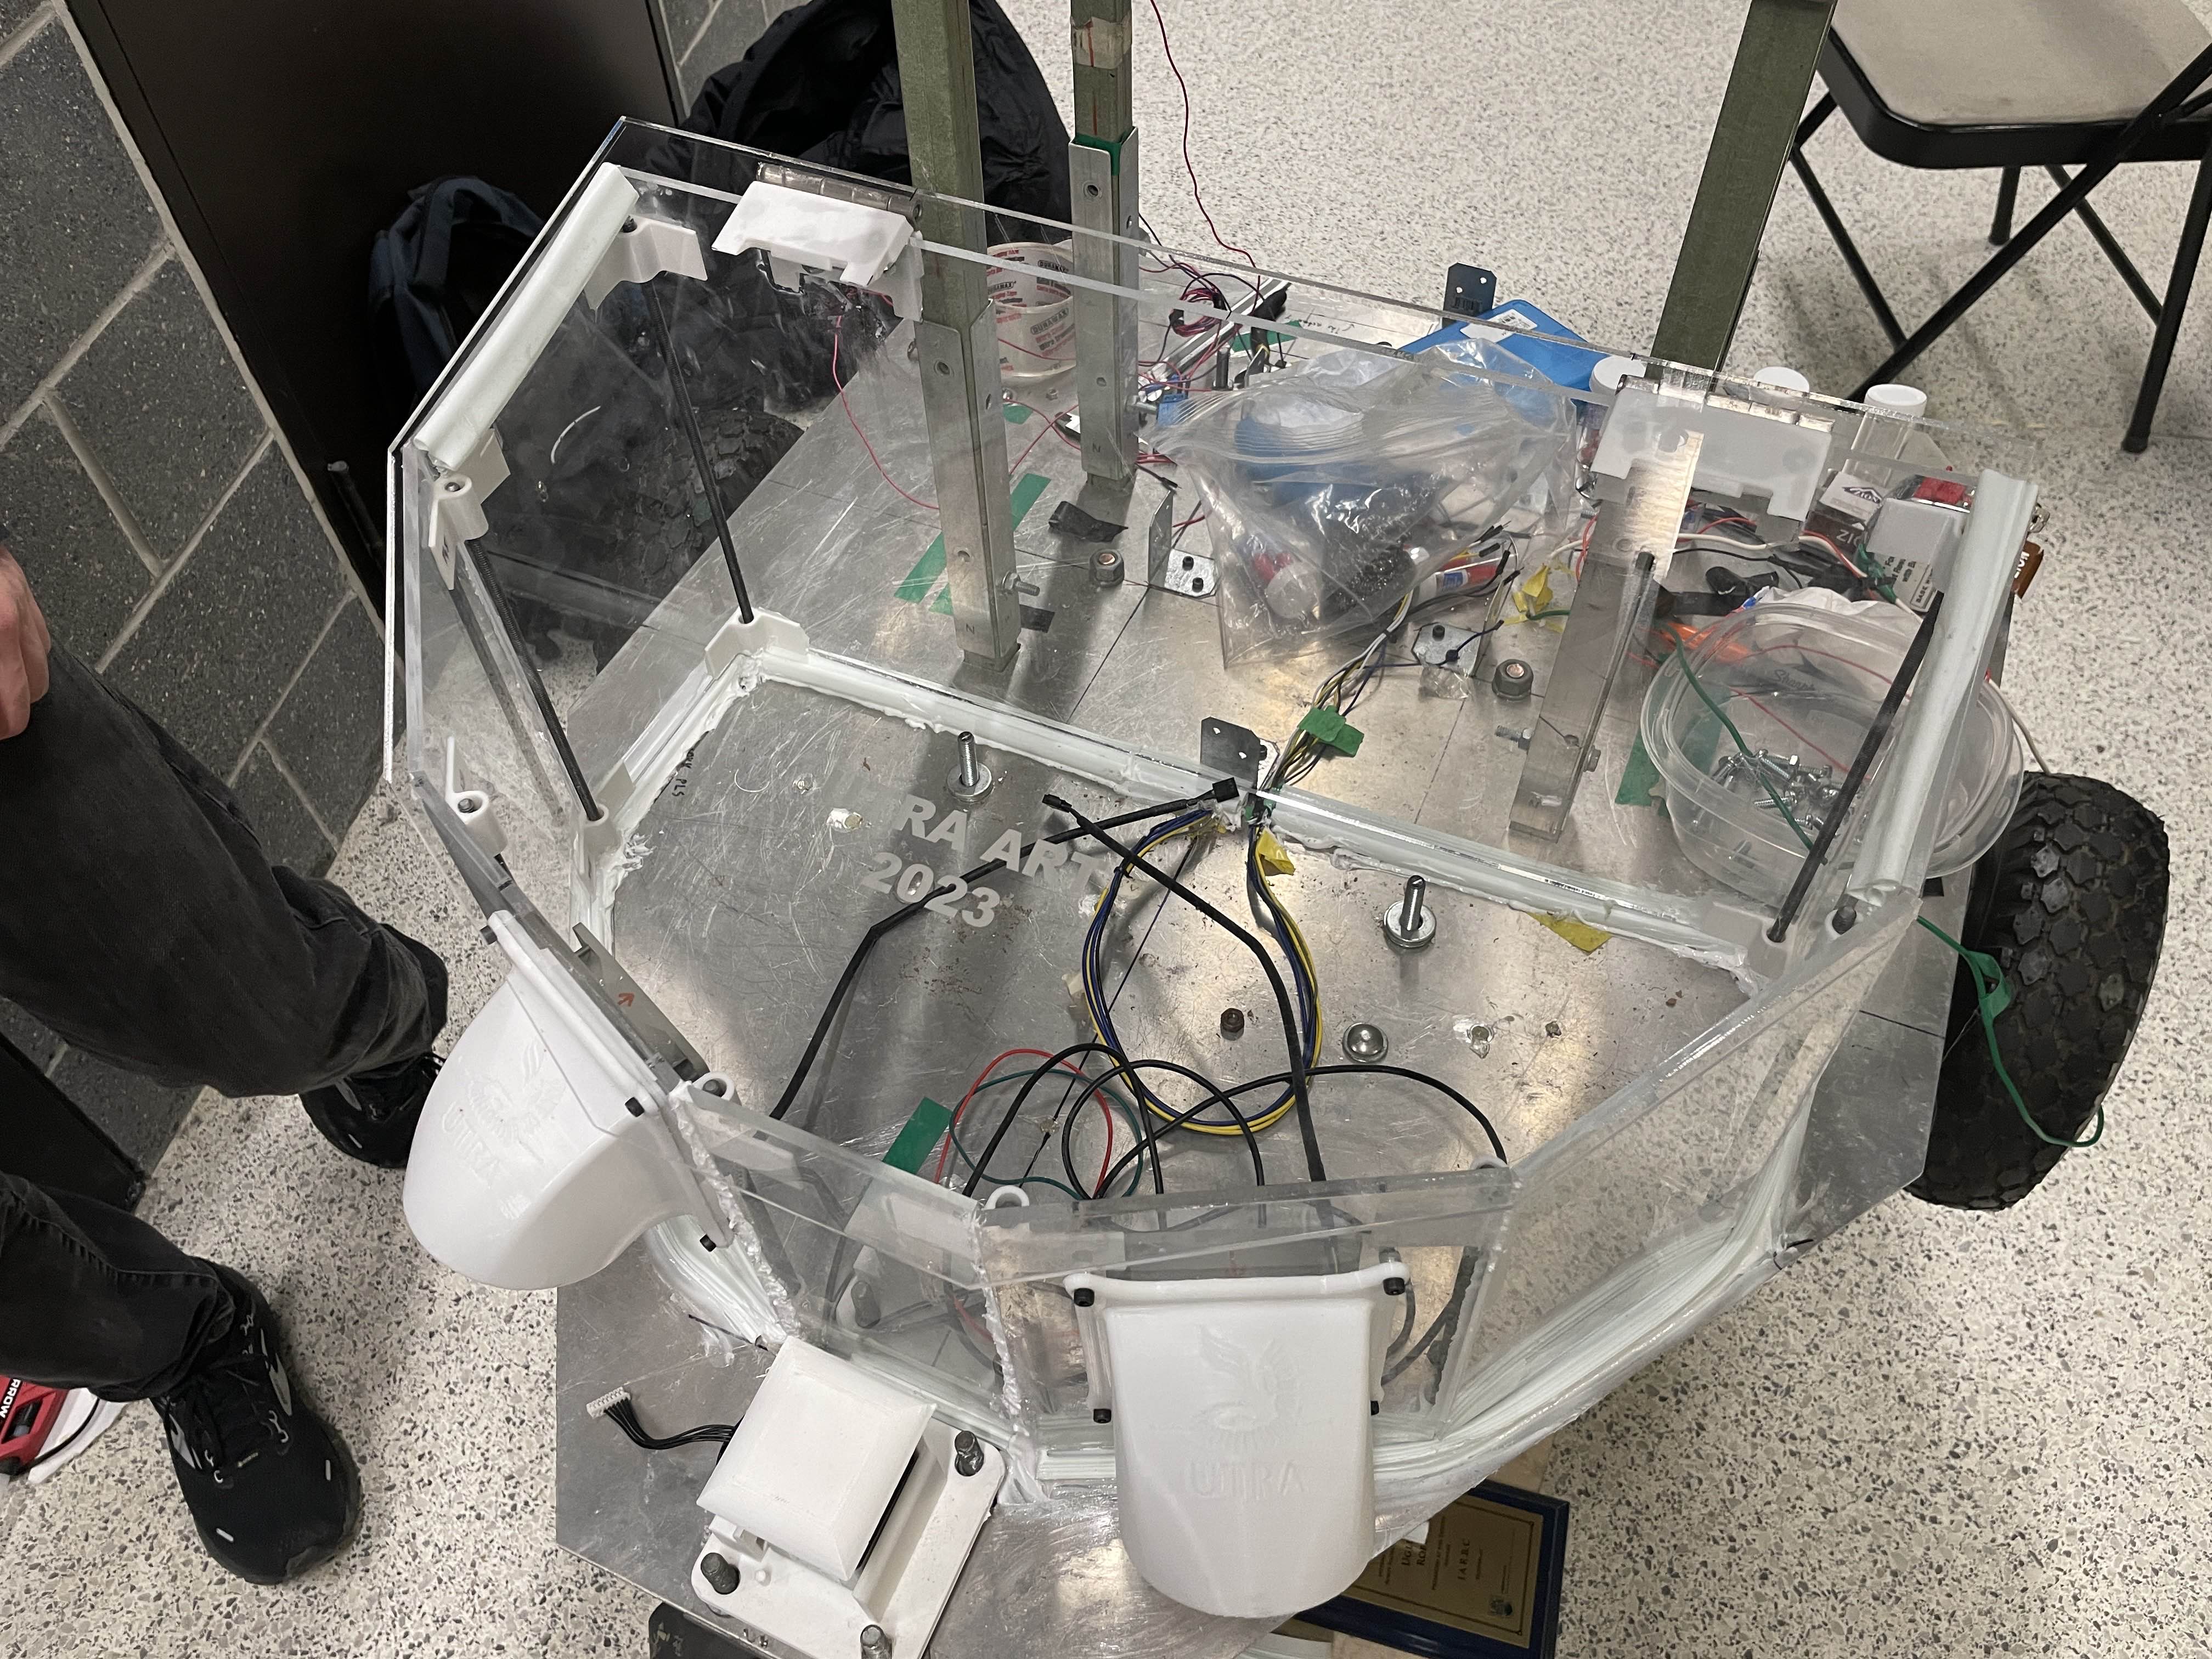
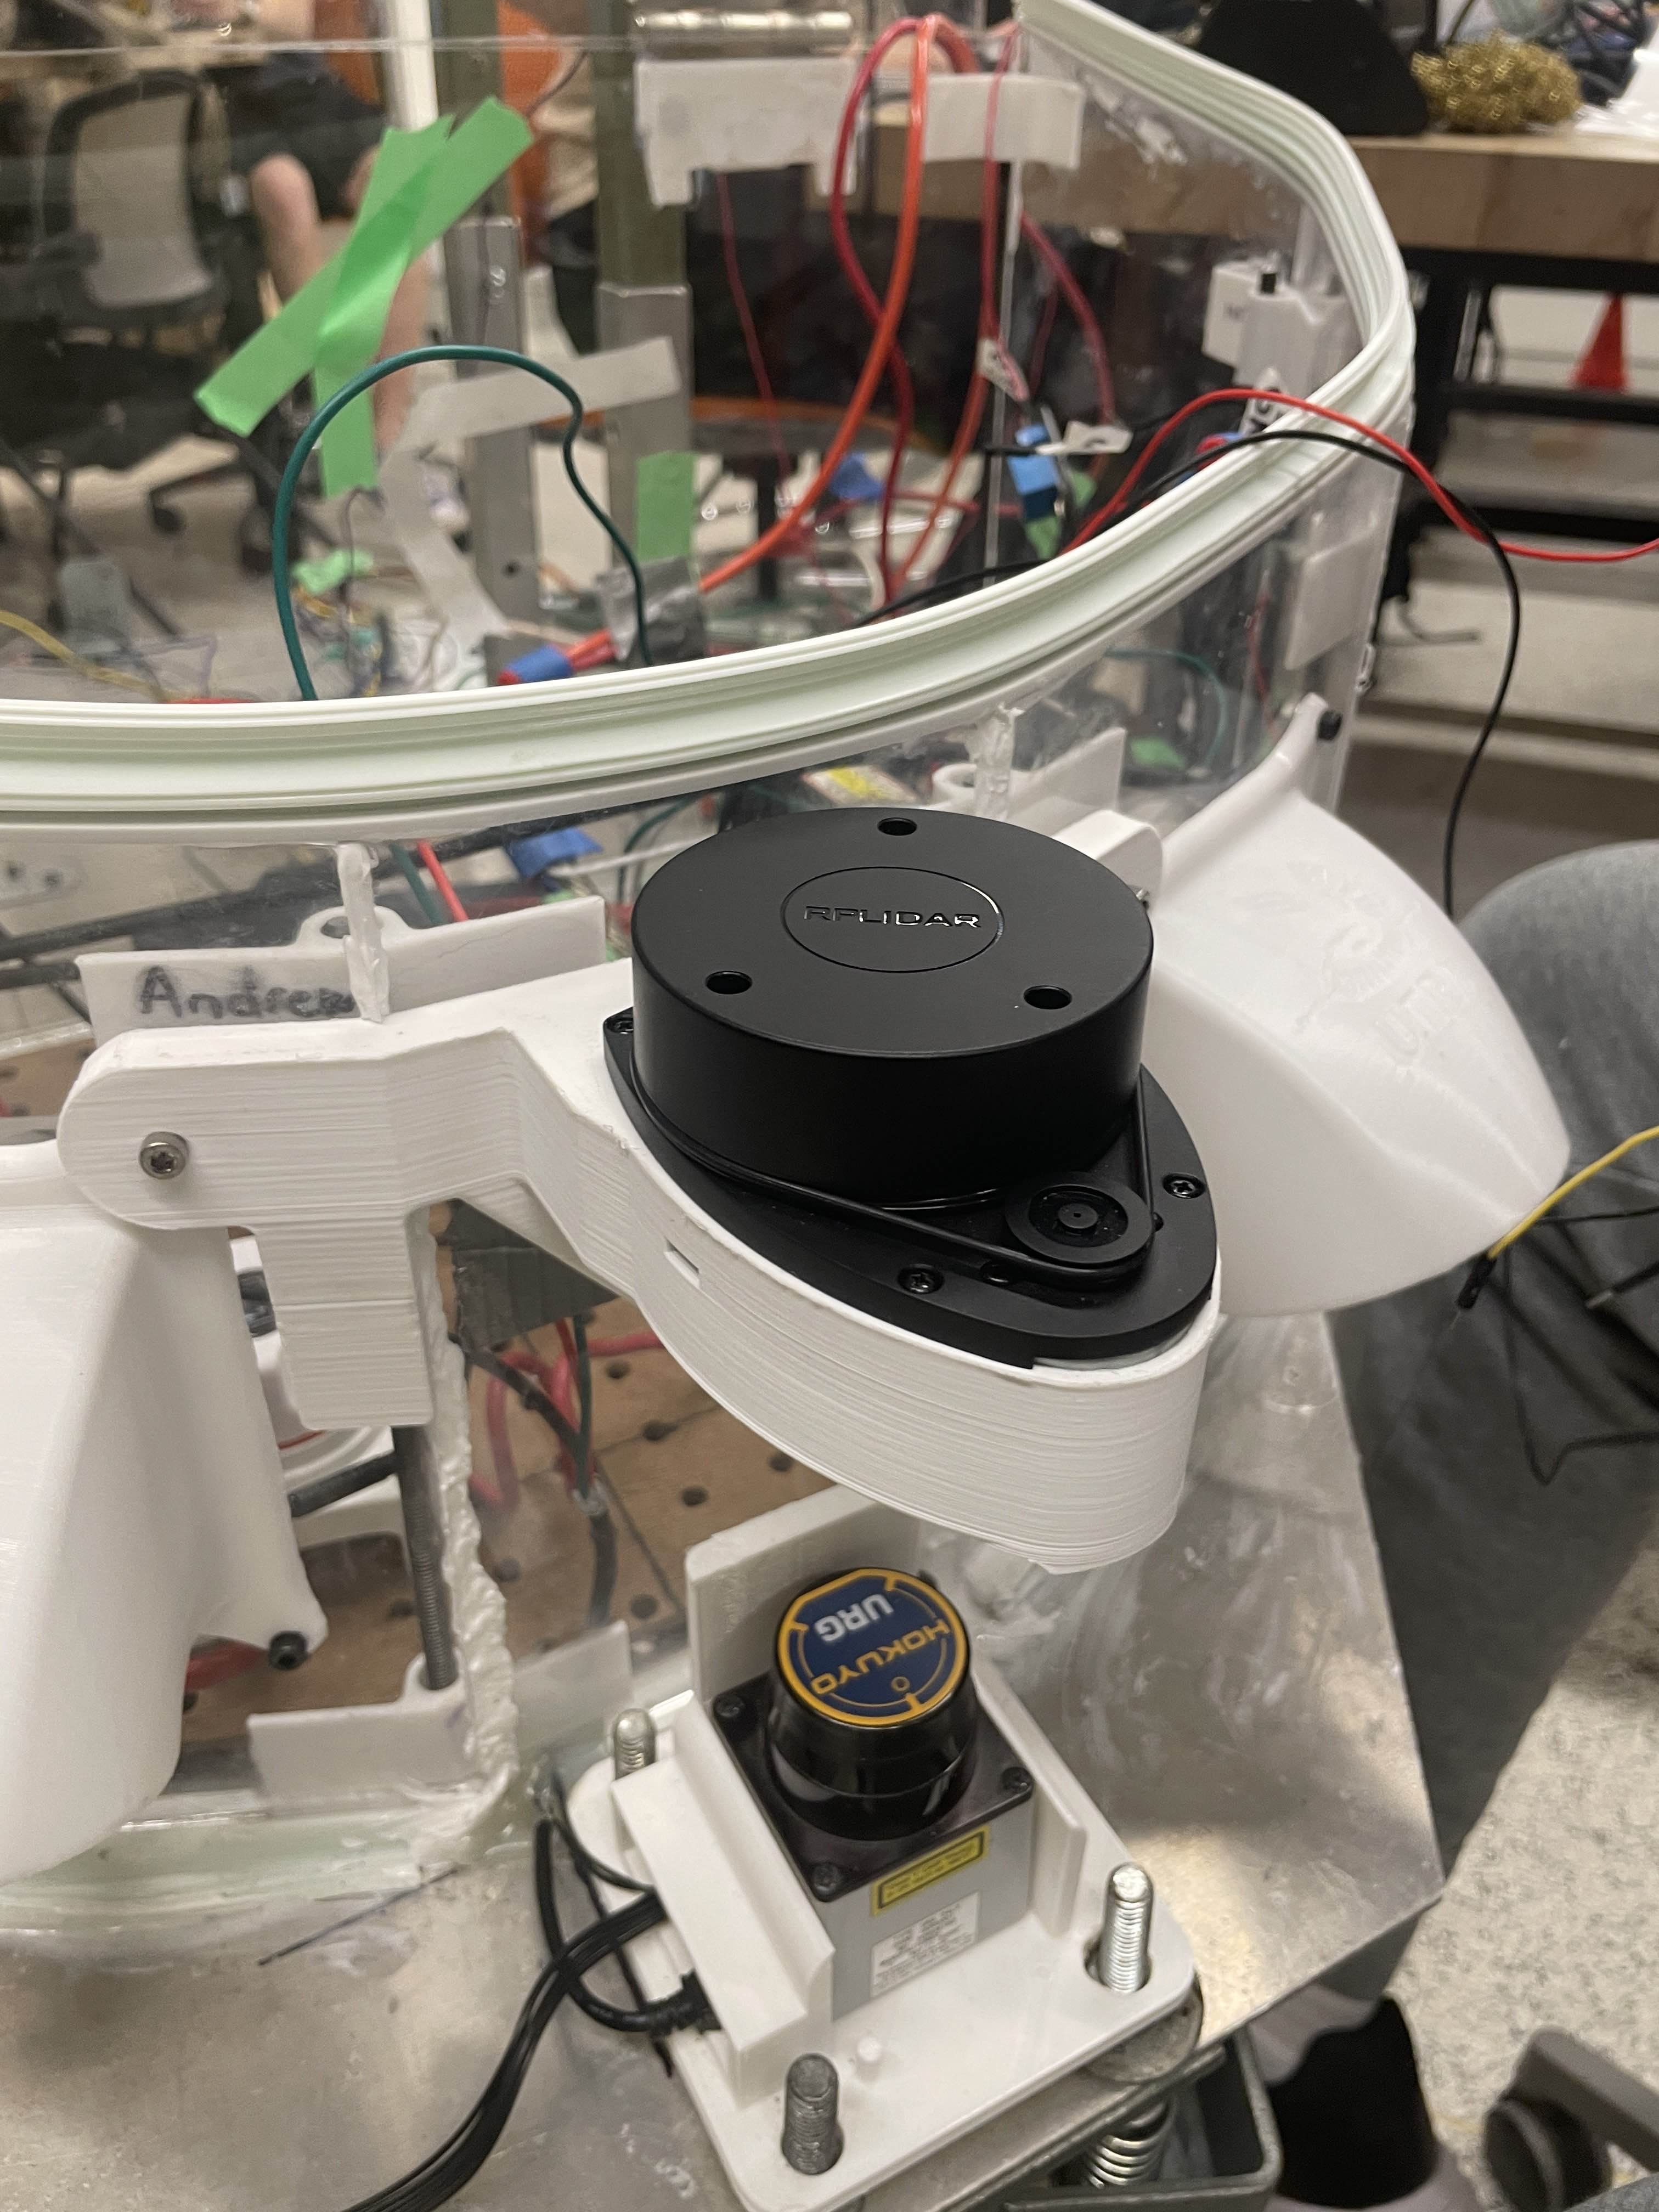
Left: The final waterproof electronics enclosure. / Right: Sensor bracket designed by a team member.
Methods Used
To gather requirements for the waterproof enclosure, I talked with the previous year’s electrical lead and project managers to identify the main issues and pain points of the old one. The new waterproof enclosure was going to:
- Include fans to cool the electronics while operating in hot, sunny, outdoor conditions
- Be watertight to prevent rain from intruding
- Include a maintenance cover for ease of accessibility and troubleshooting issues.
Since the electrical lead was also planning on modifying the layout of the on-board circuits, the enclosure’s shape also needed to adapt to the new designs.
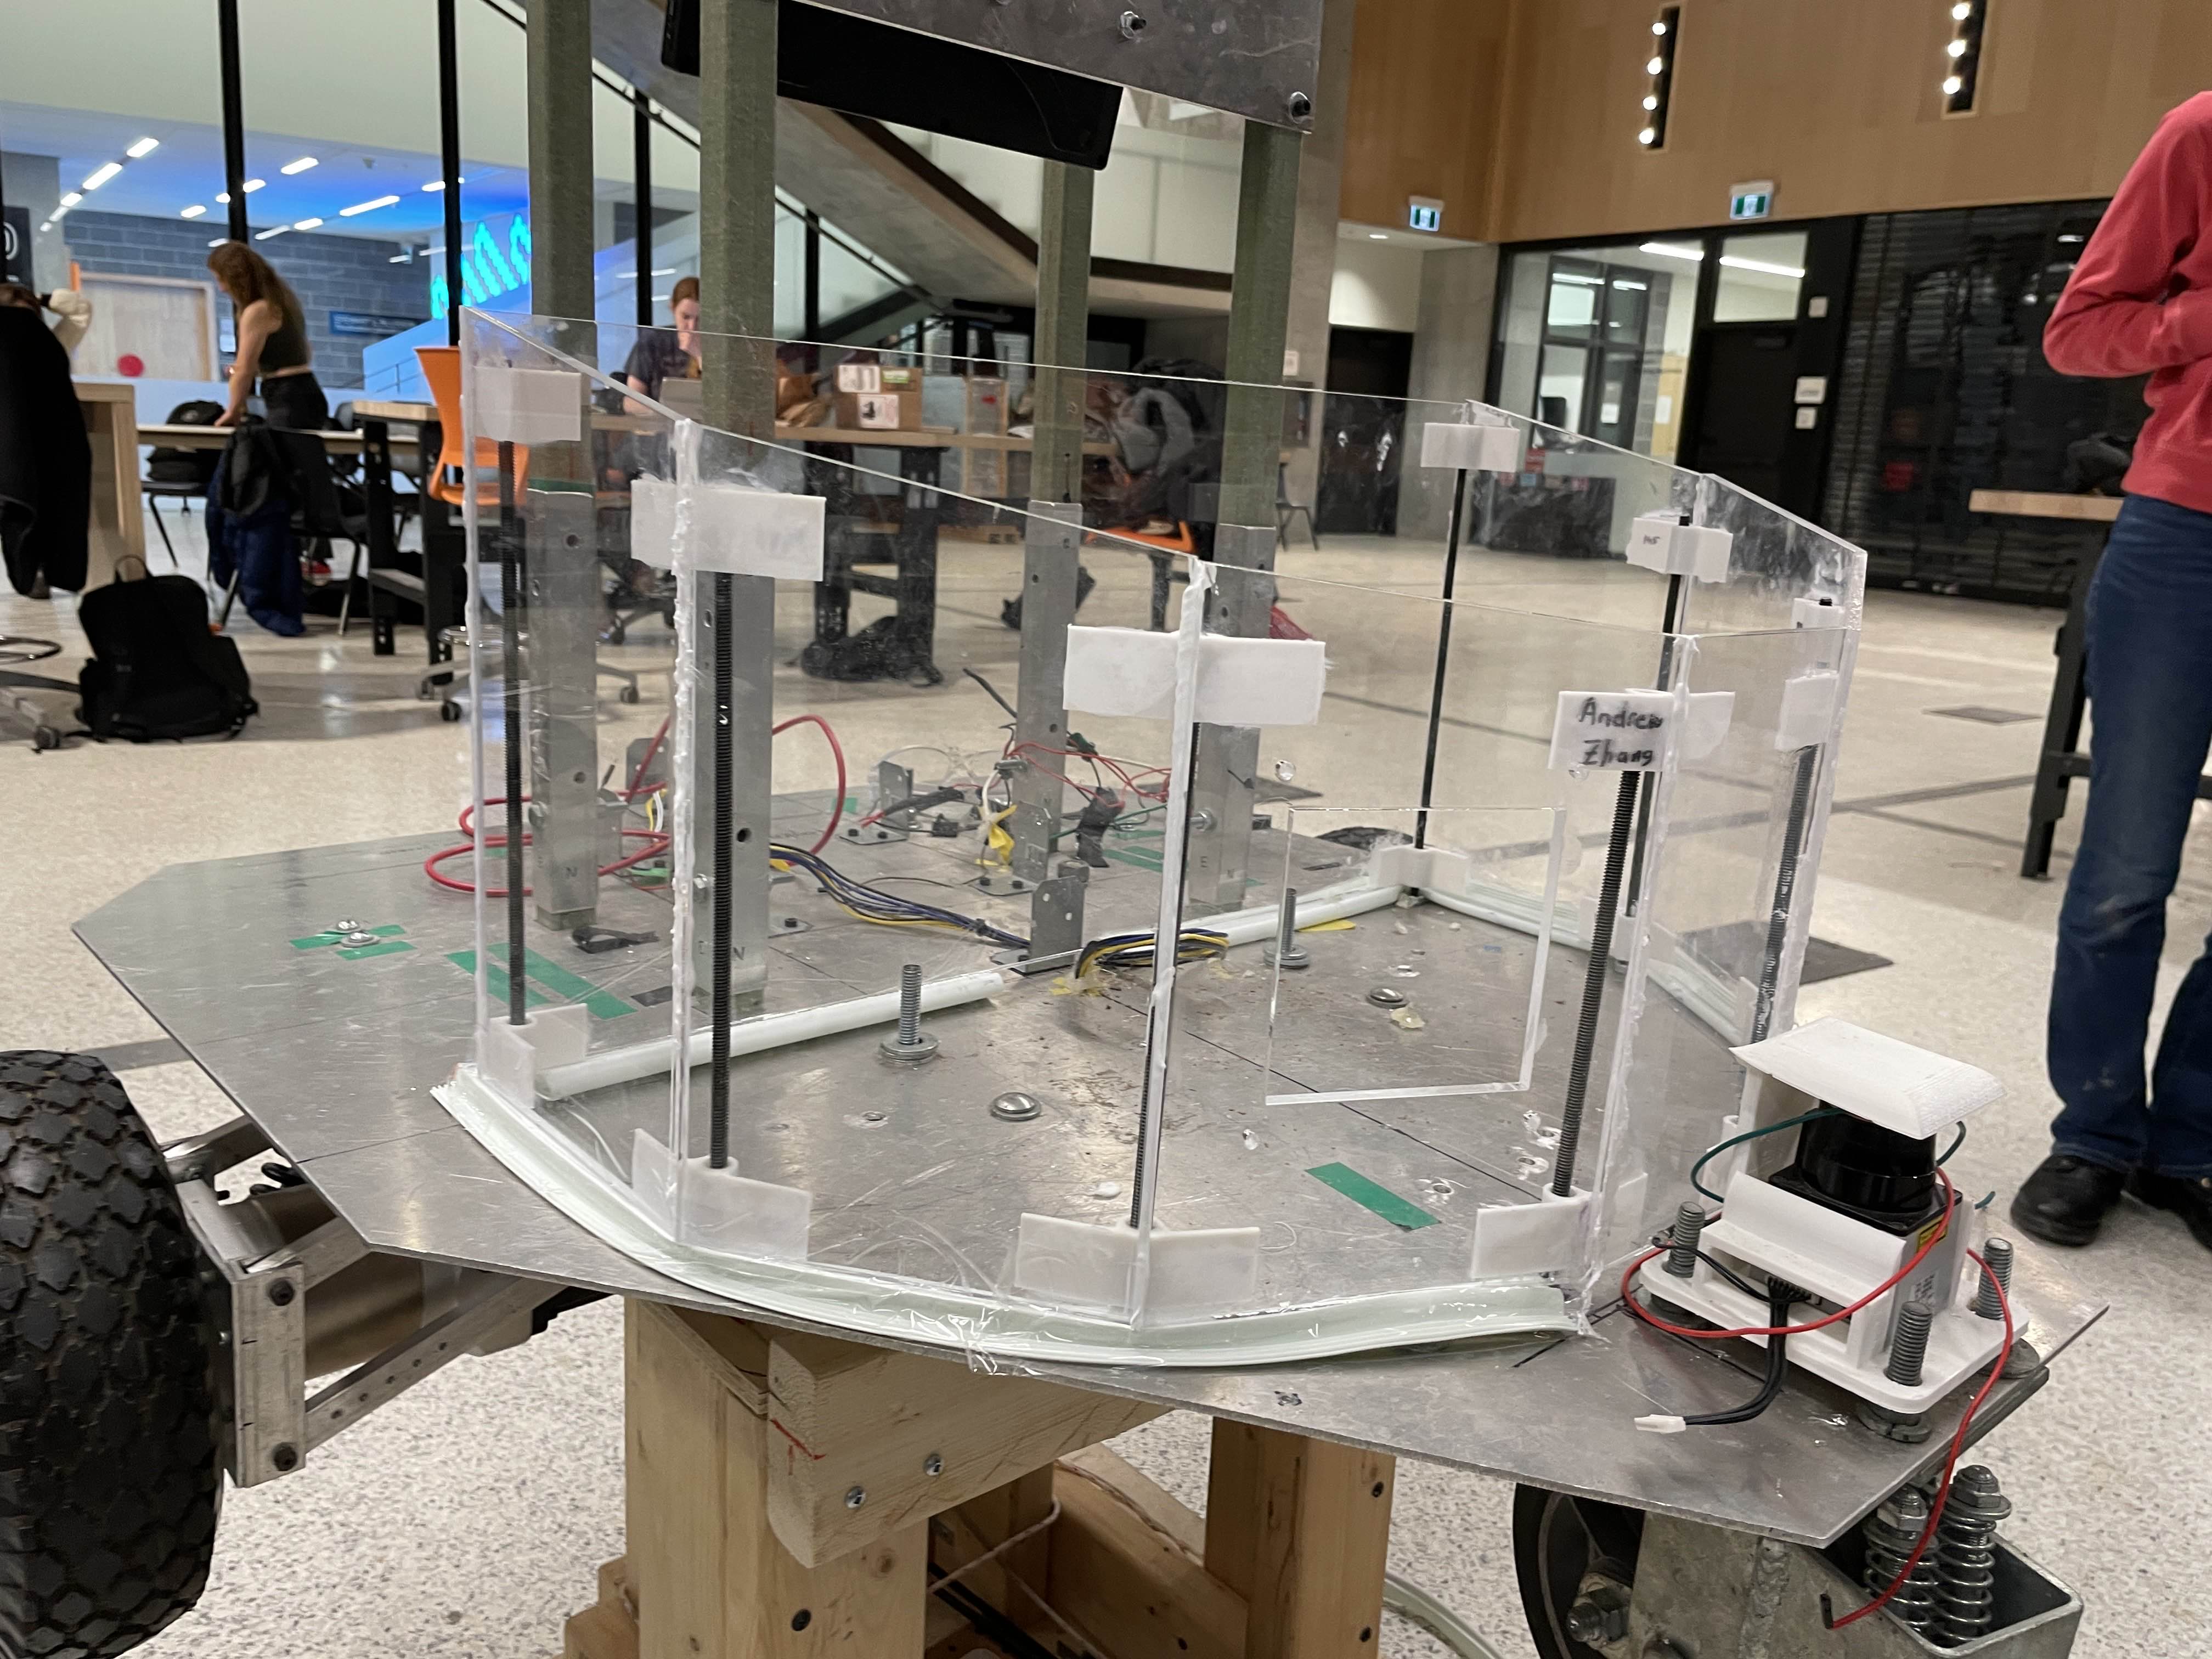
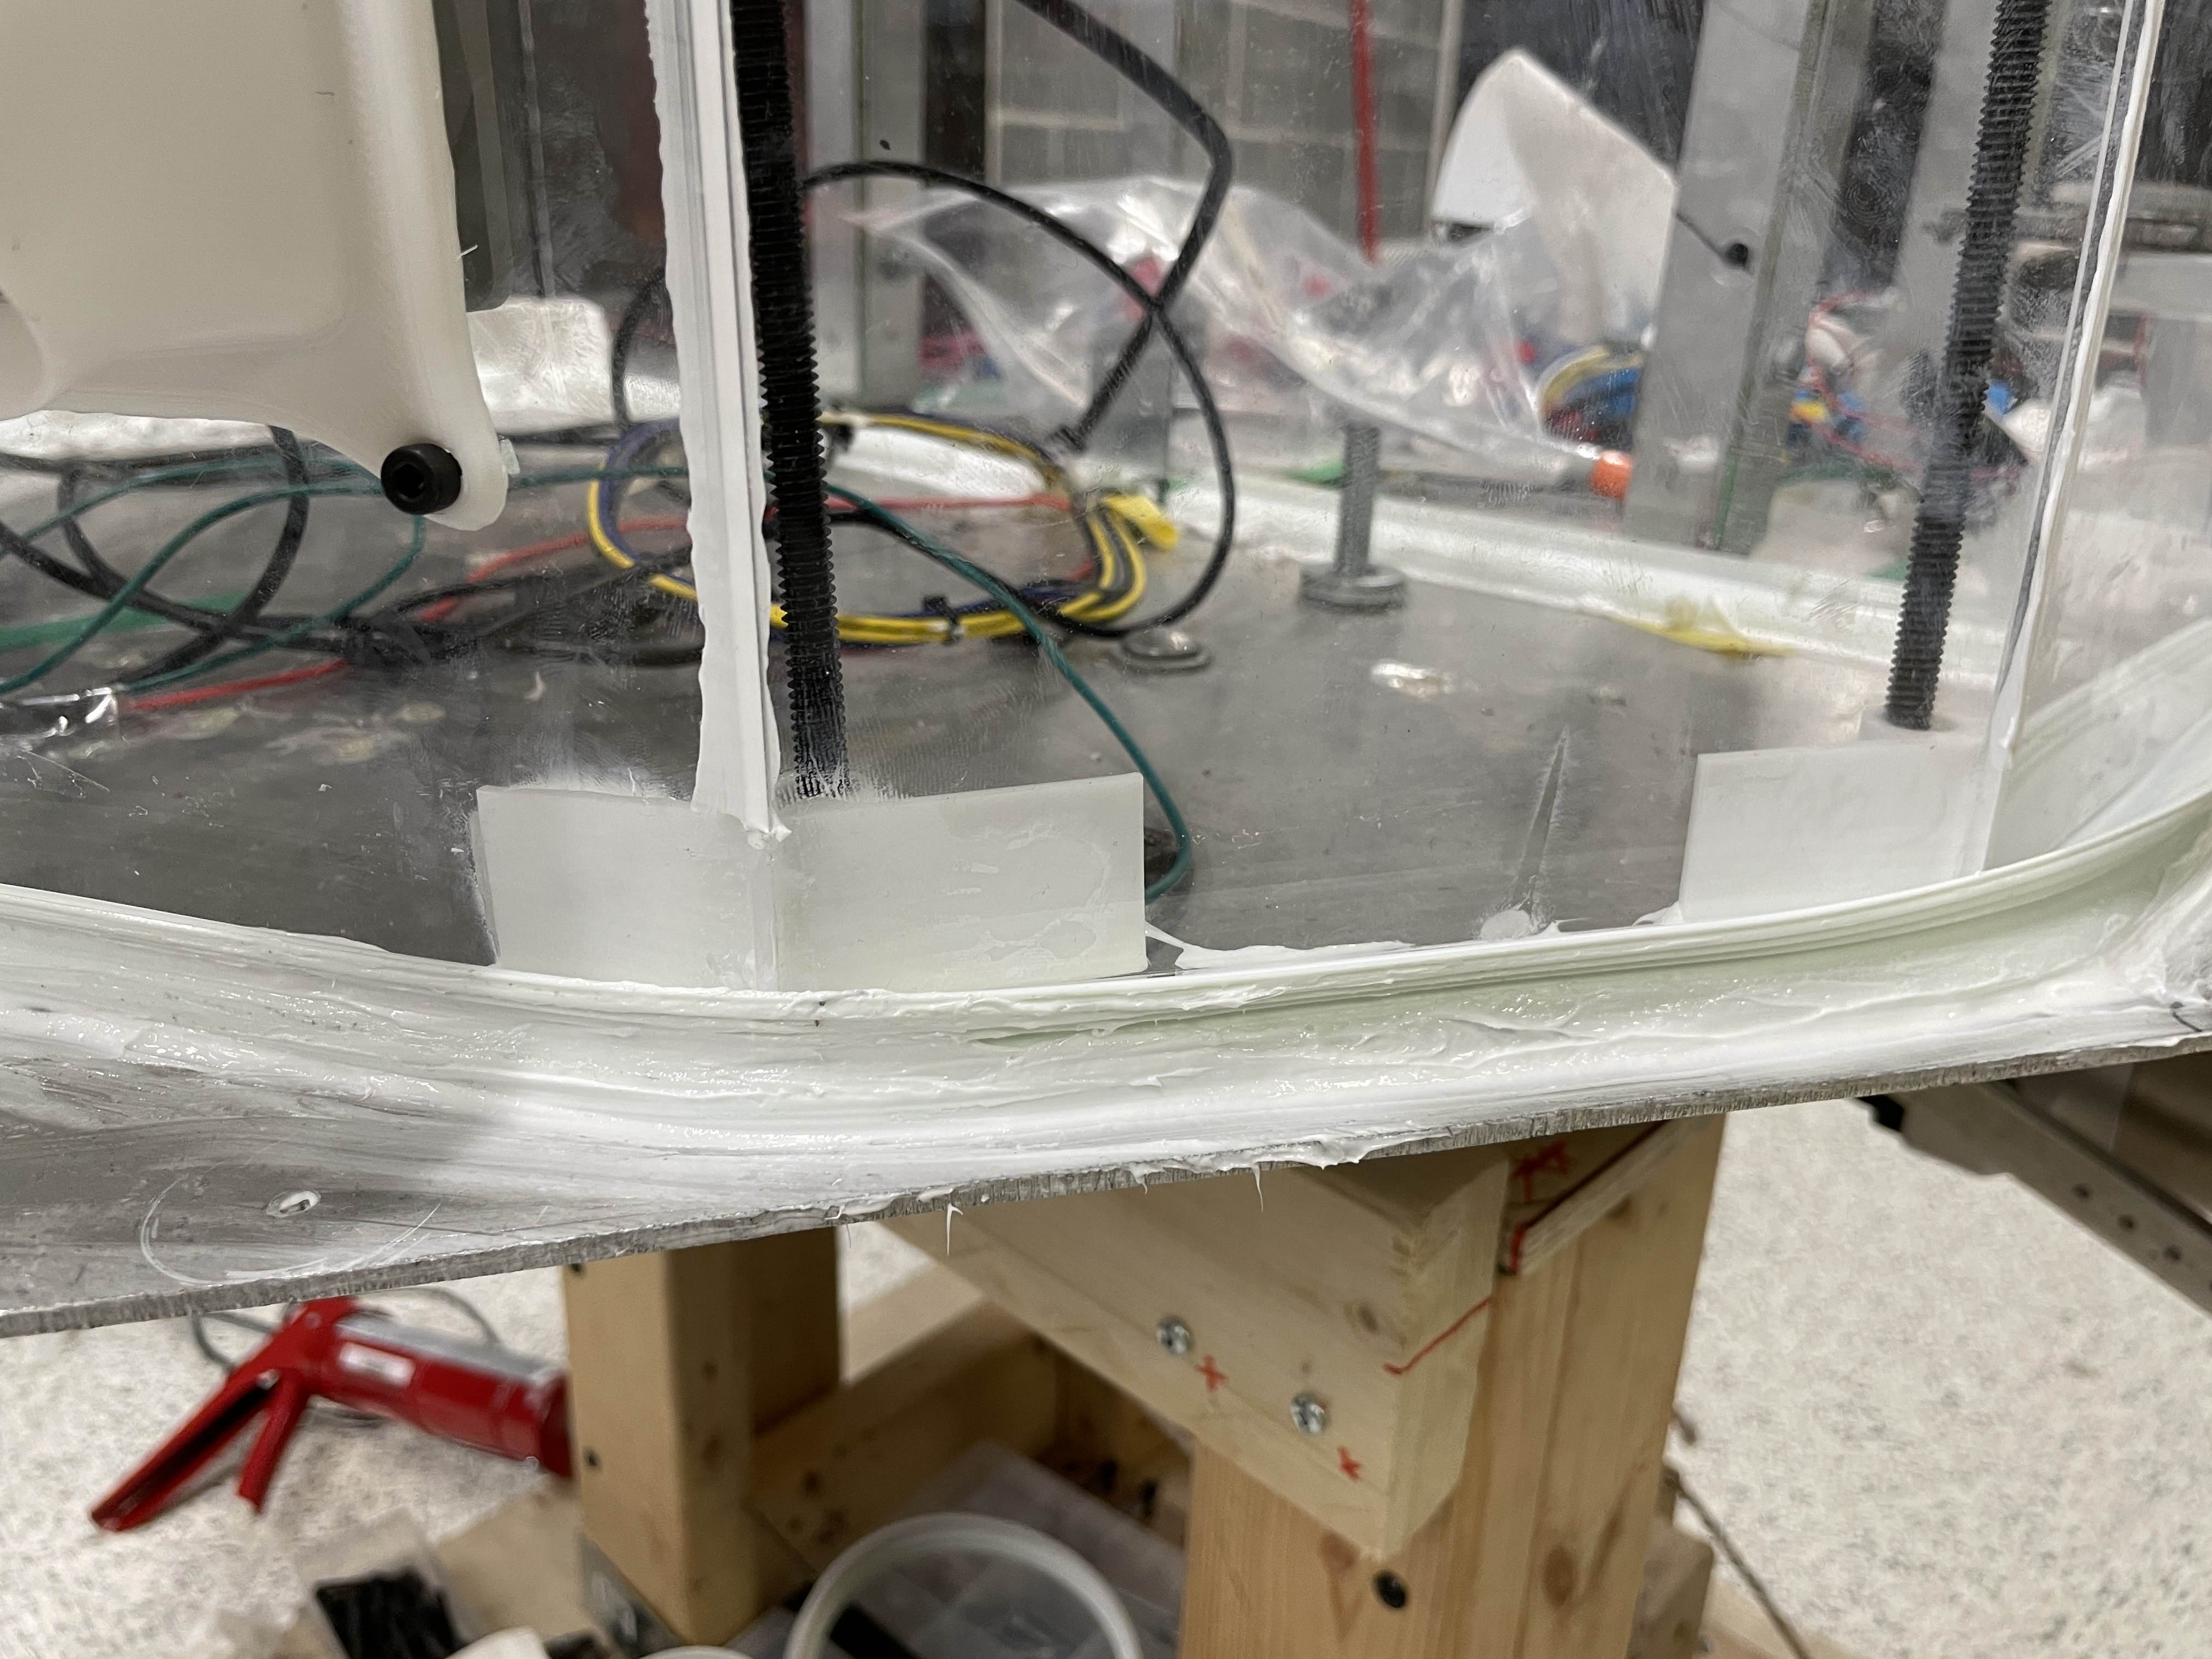
Left: Construction is under progress with the side panels. / Right: Adding sealant to prevent water from coming through.
After doing research into current waterproofing techniques, I designed a concept using laser-cut acrylic panels that followed the contours of the robot chassis. The enclosure would be supported by threaded rods that passed through the chassis for rigid support, and the seams of the panels would be caulked to provide watertightness. Corner support brackets for the enclosure and sensor mounts were also designed and 3D printed thanks to the efforts of general members.
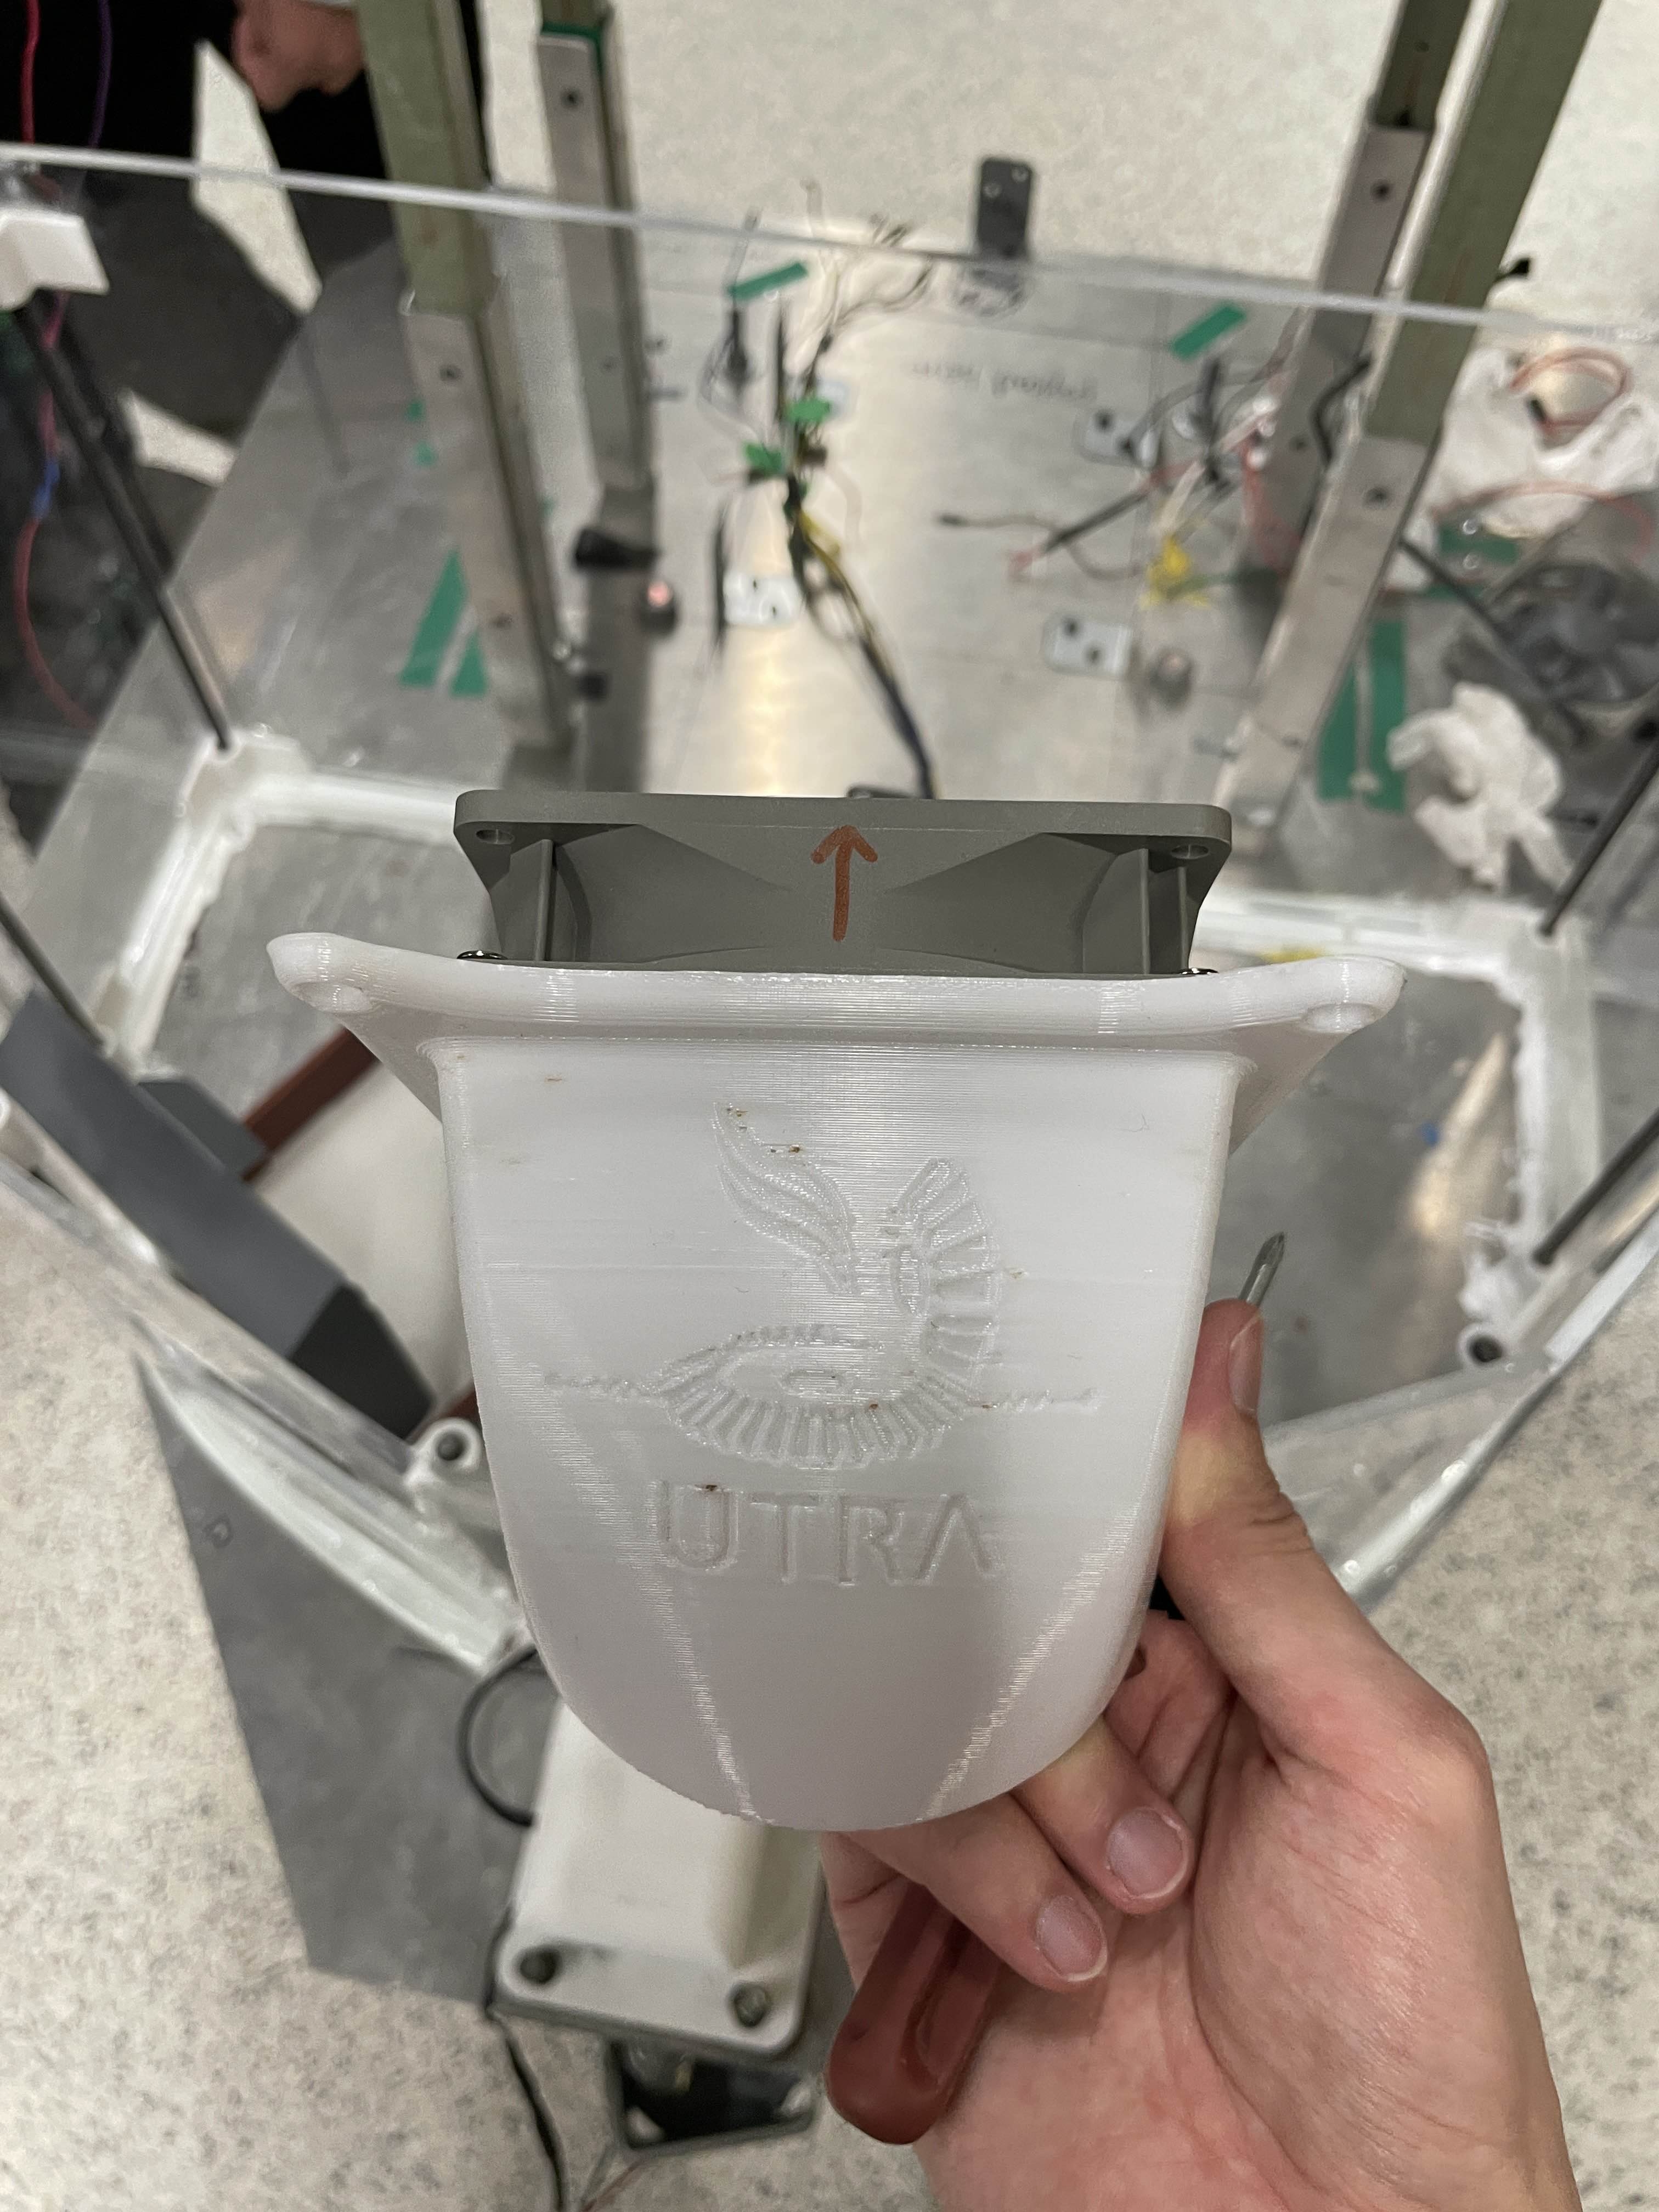
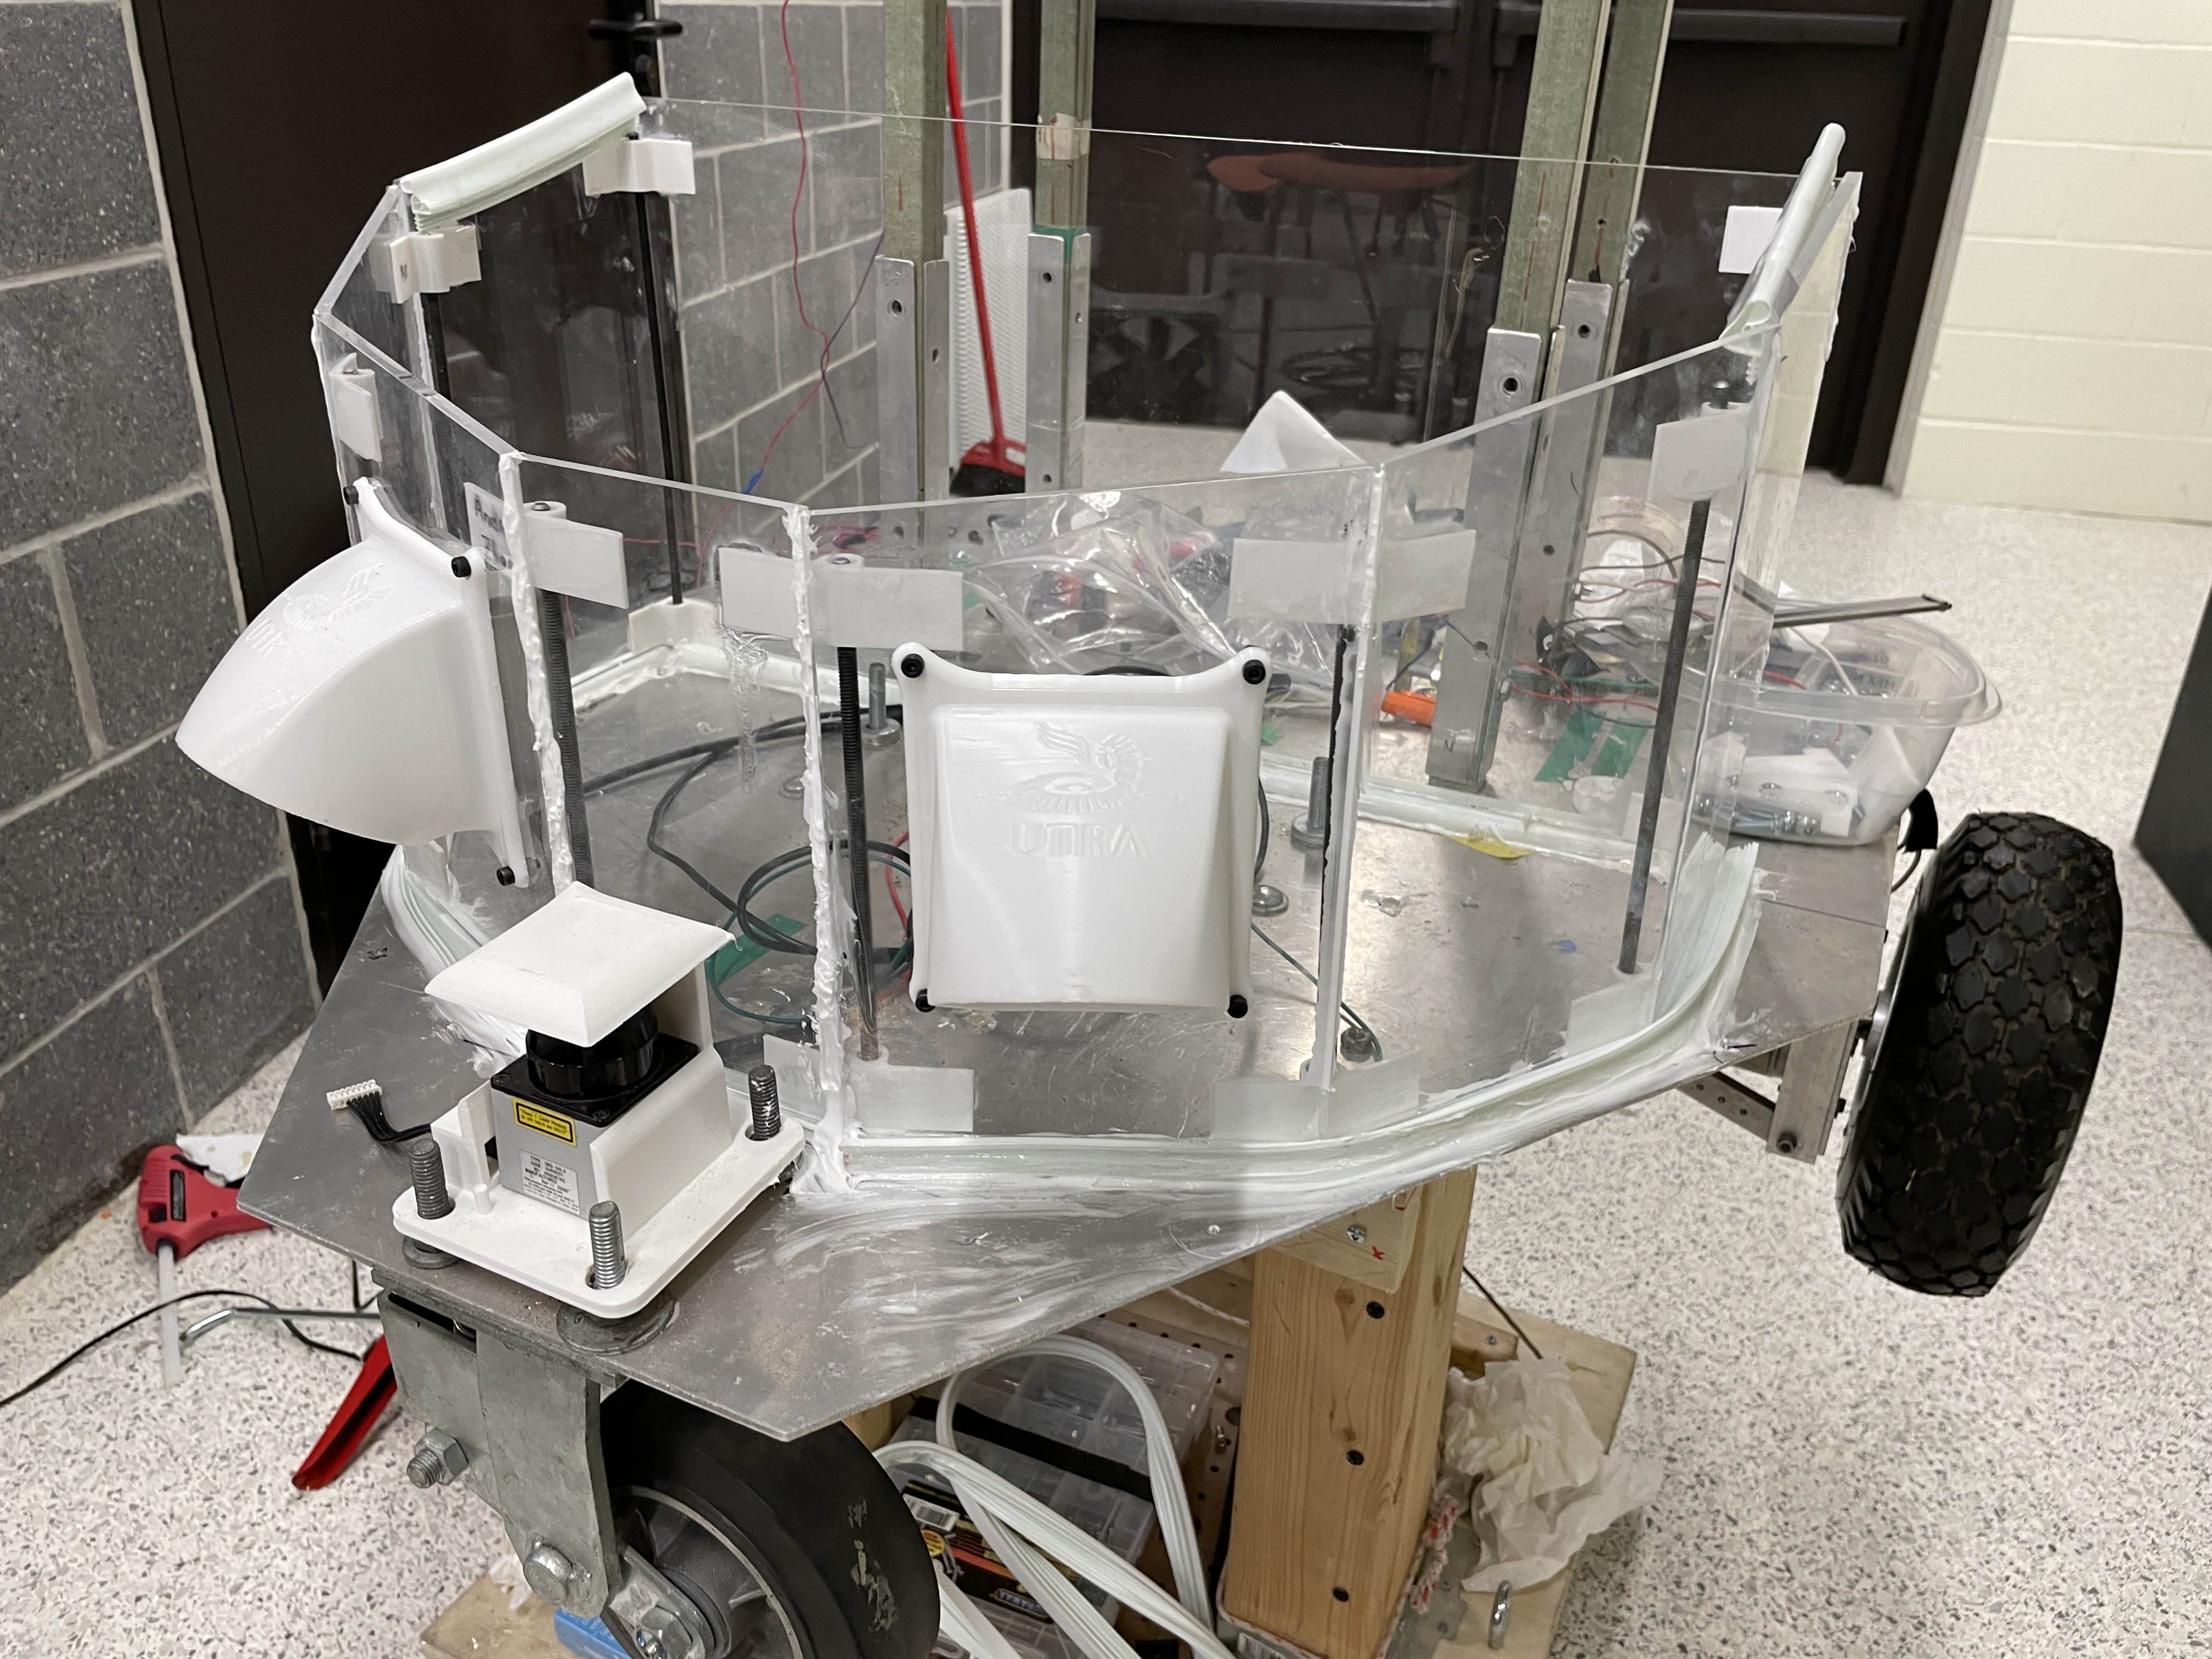
Left: Close-up of a fan duct with our team logo. / Right: Completed vent installations.
My team also researched existing ways of wall-mounting the TV monitor and brainstormed concepts for our robot. In the end, we decided to make a custom mounting plate that attached the TV to the robot. To save on material costs, we were using an old metal plate as base and then drilling a pattern of holes into it. I was the one who ultimately used my university’s machine shop to drill the required holes with a computer-guided milling machine to precisely locate the holes.
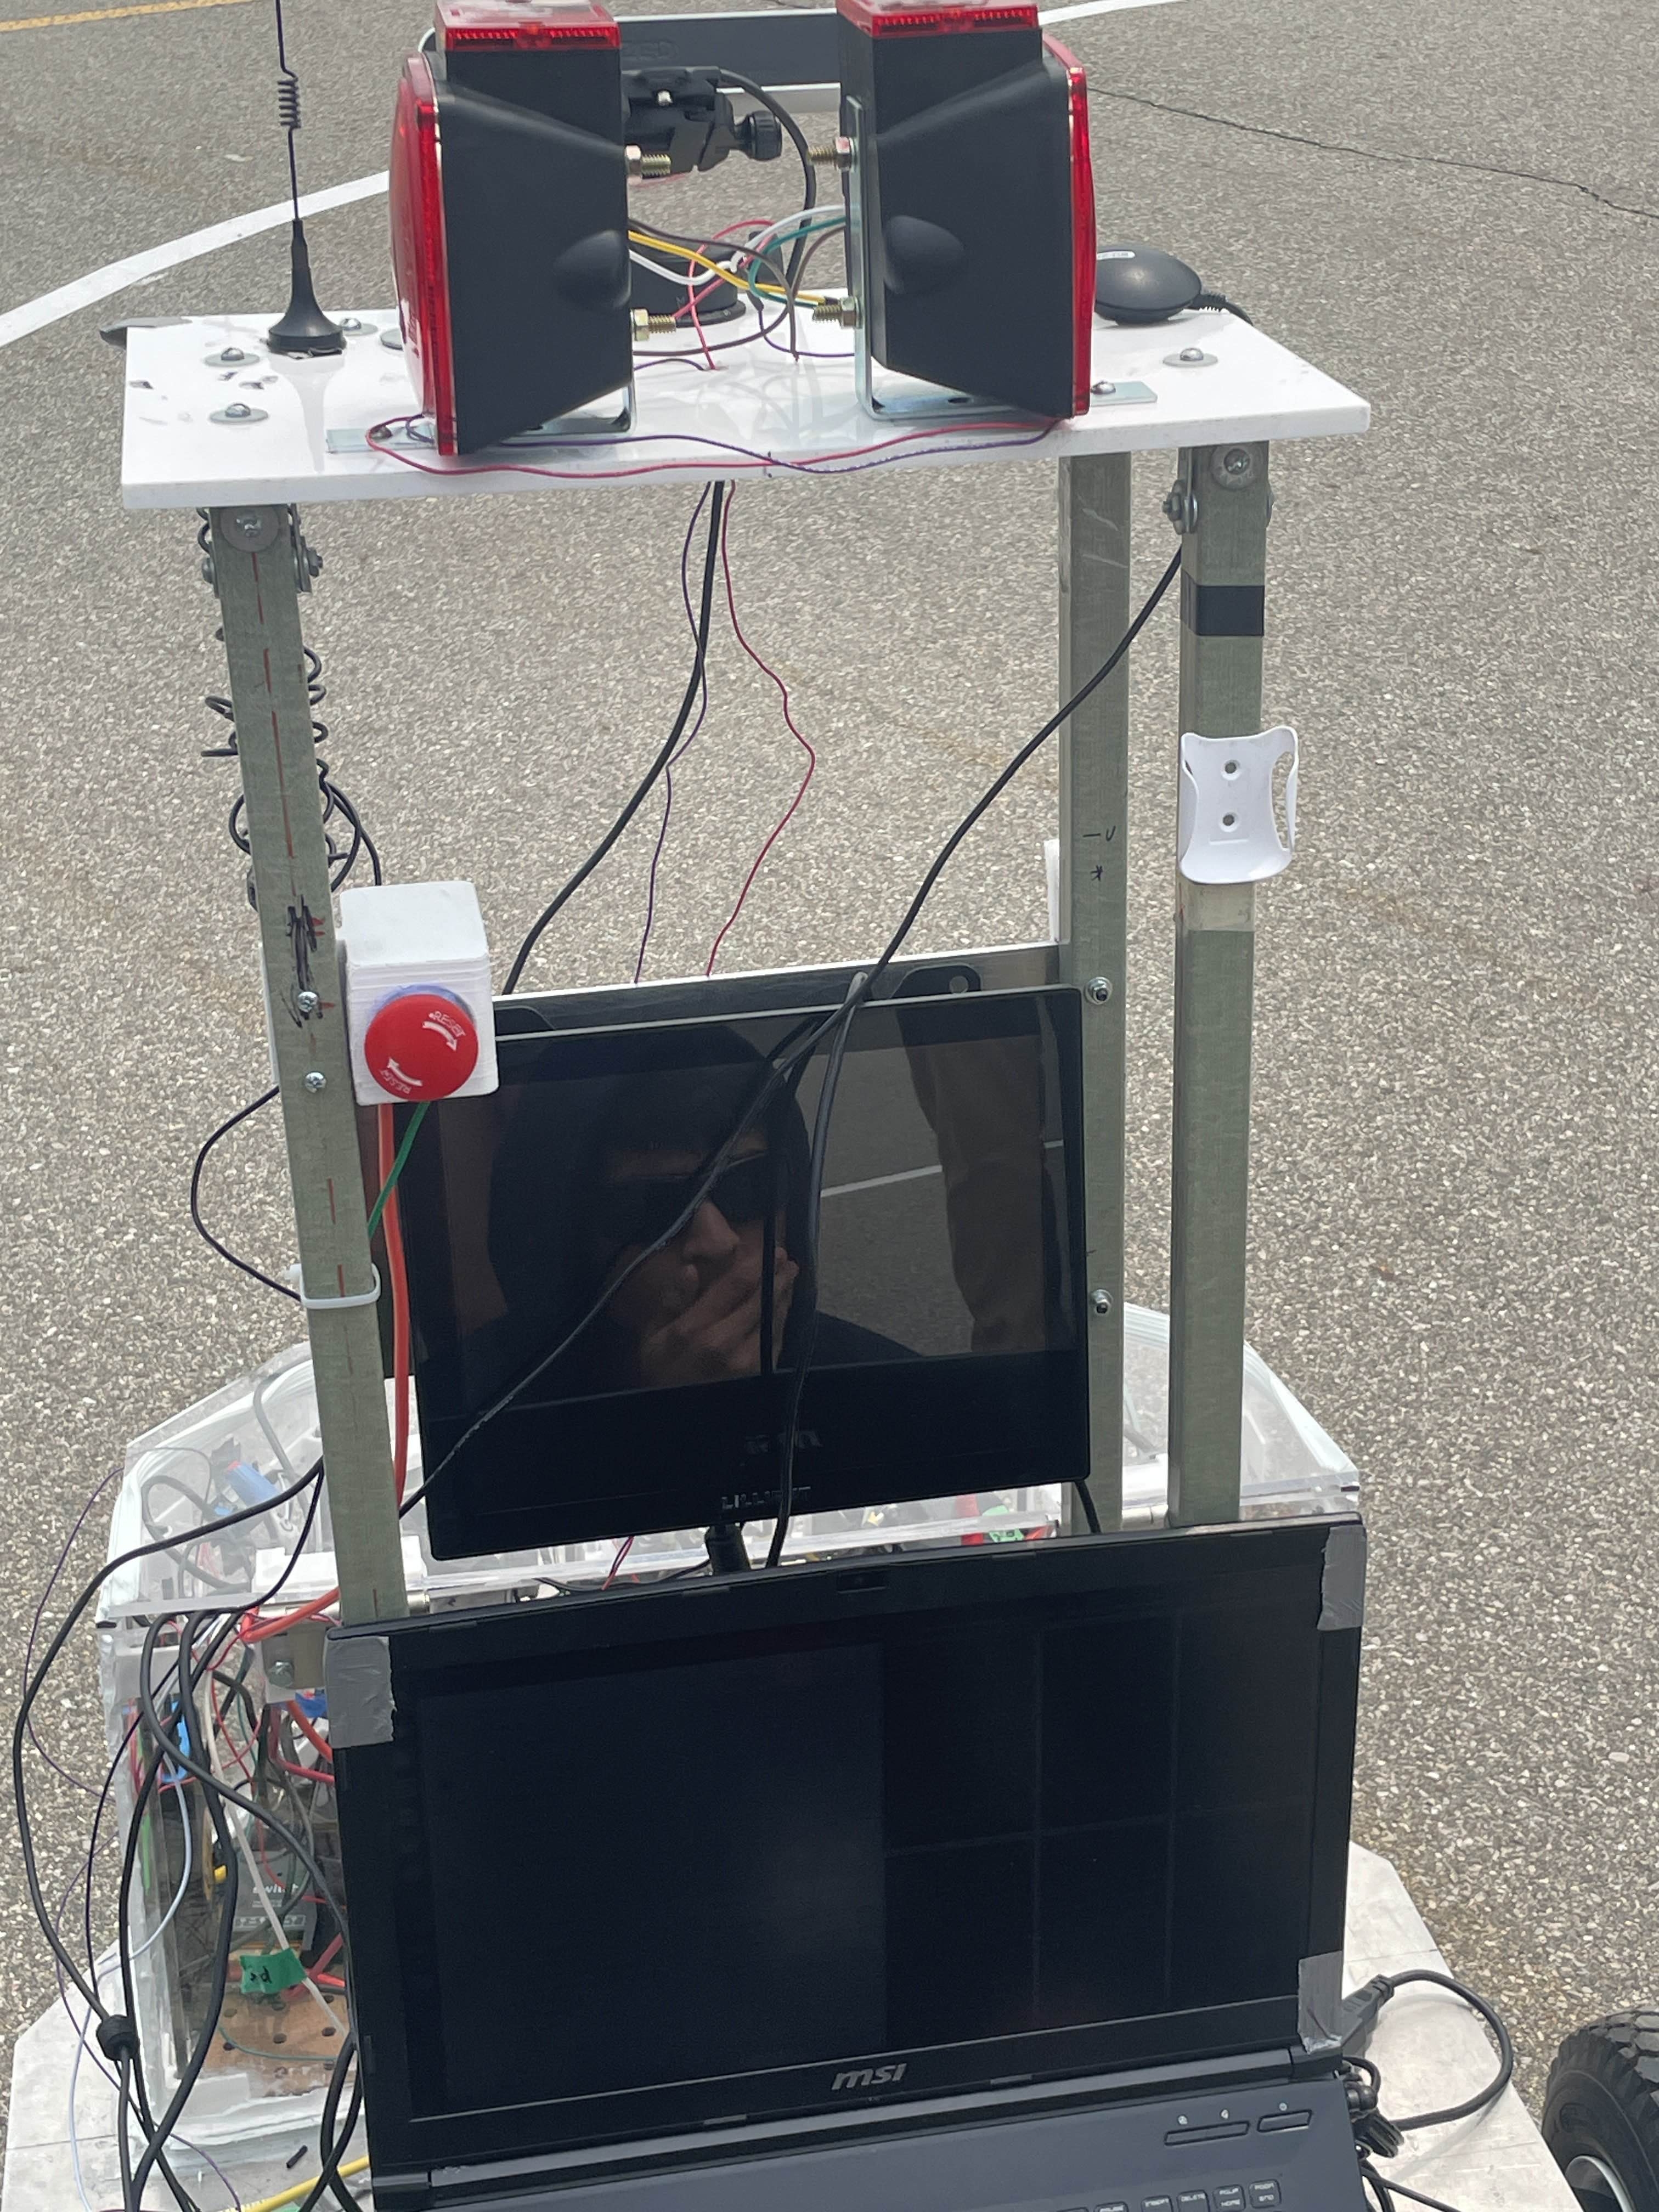
Display monitor mounted to back of our robot.
Outcomes
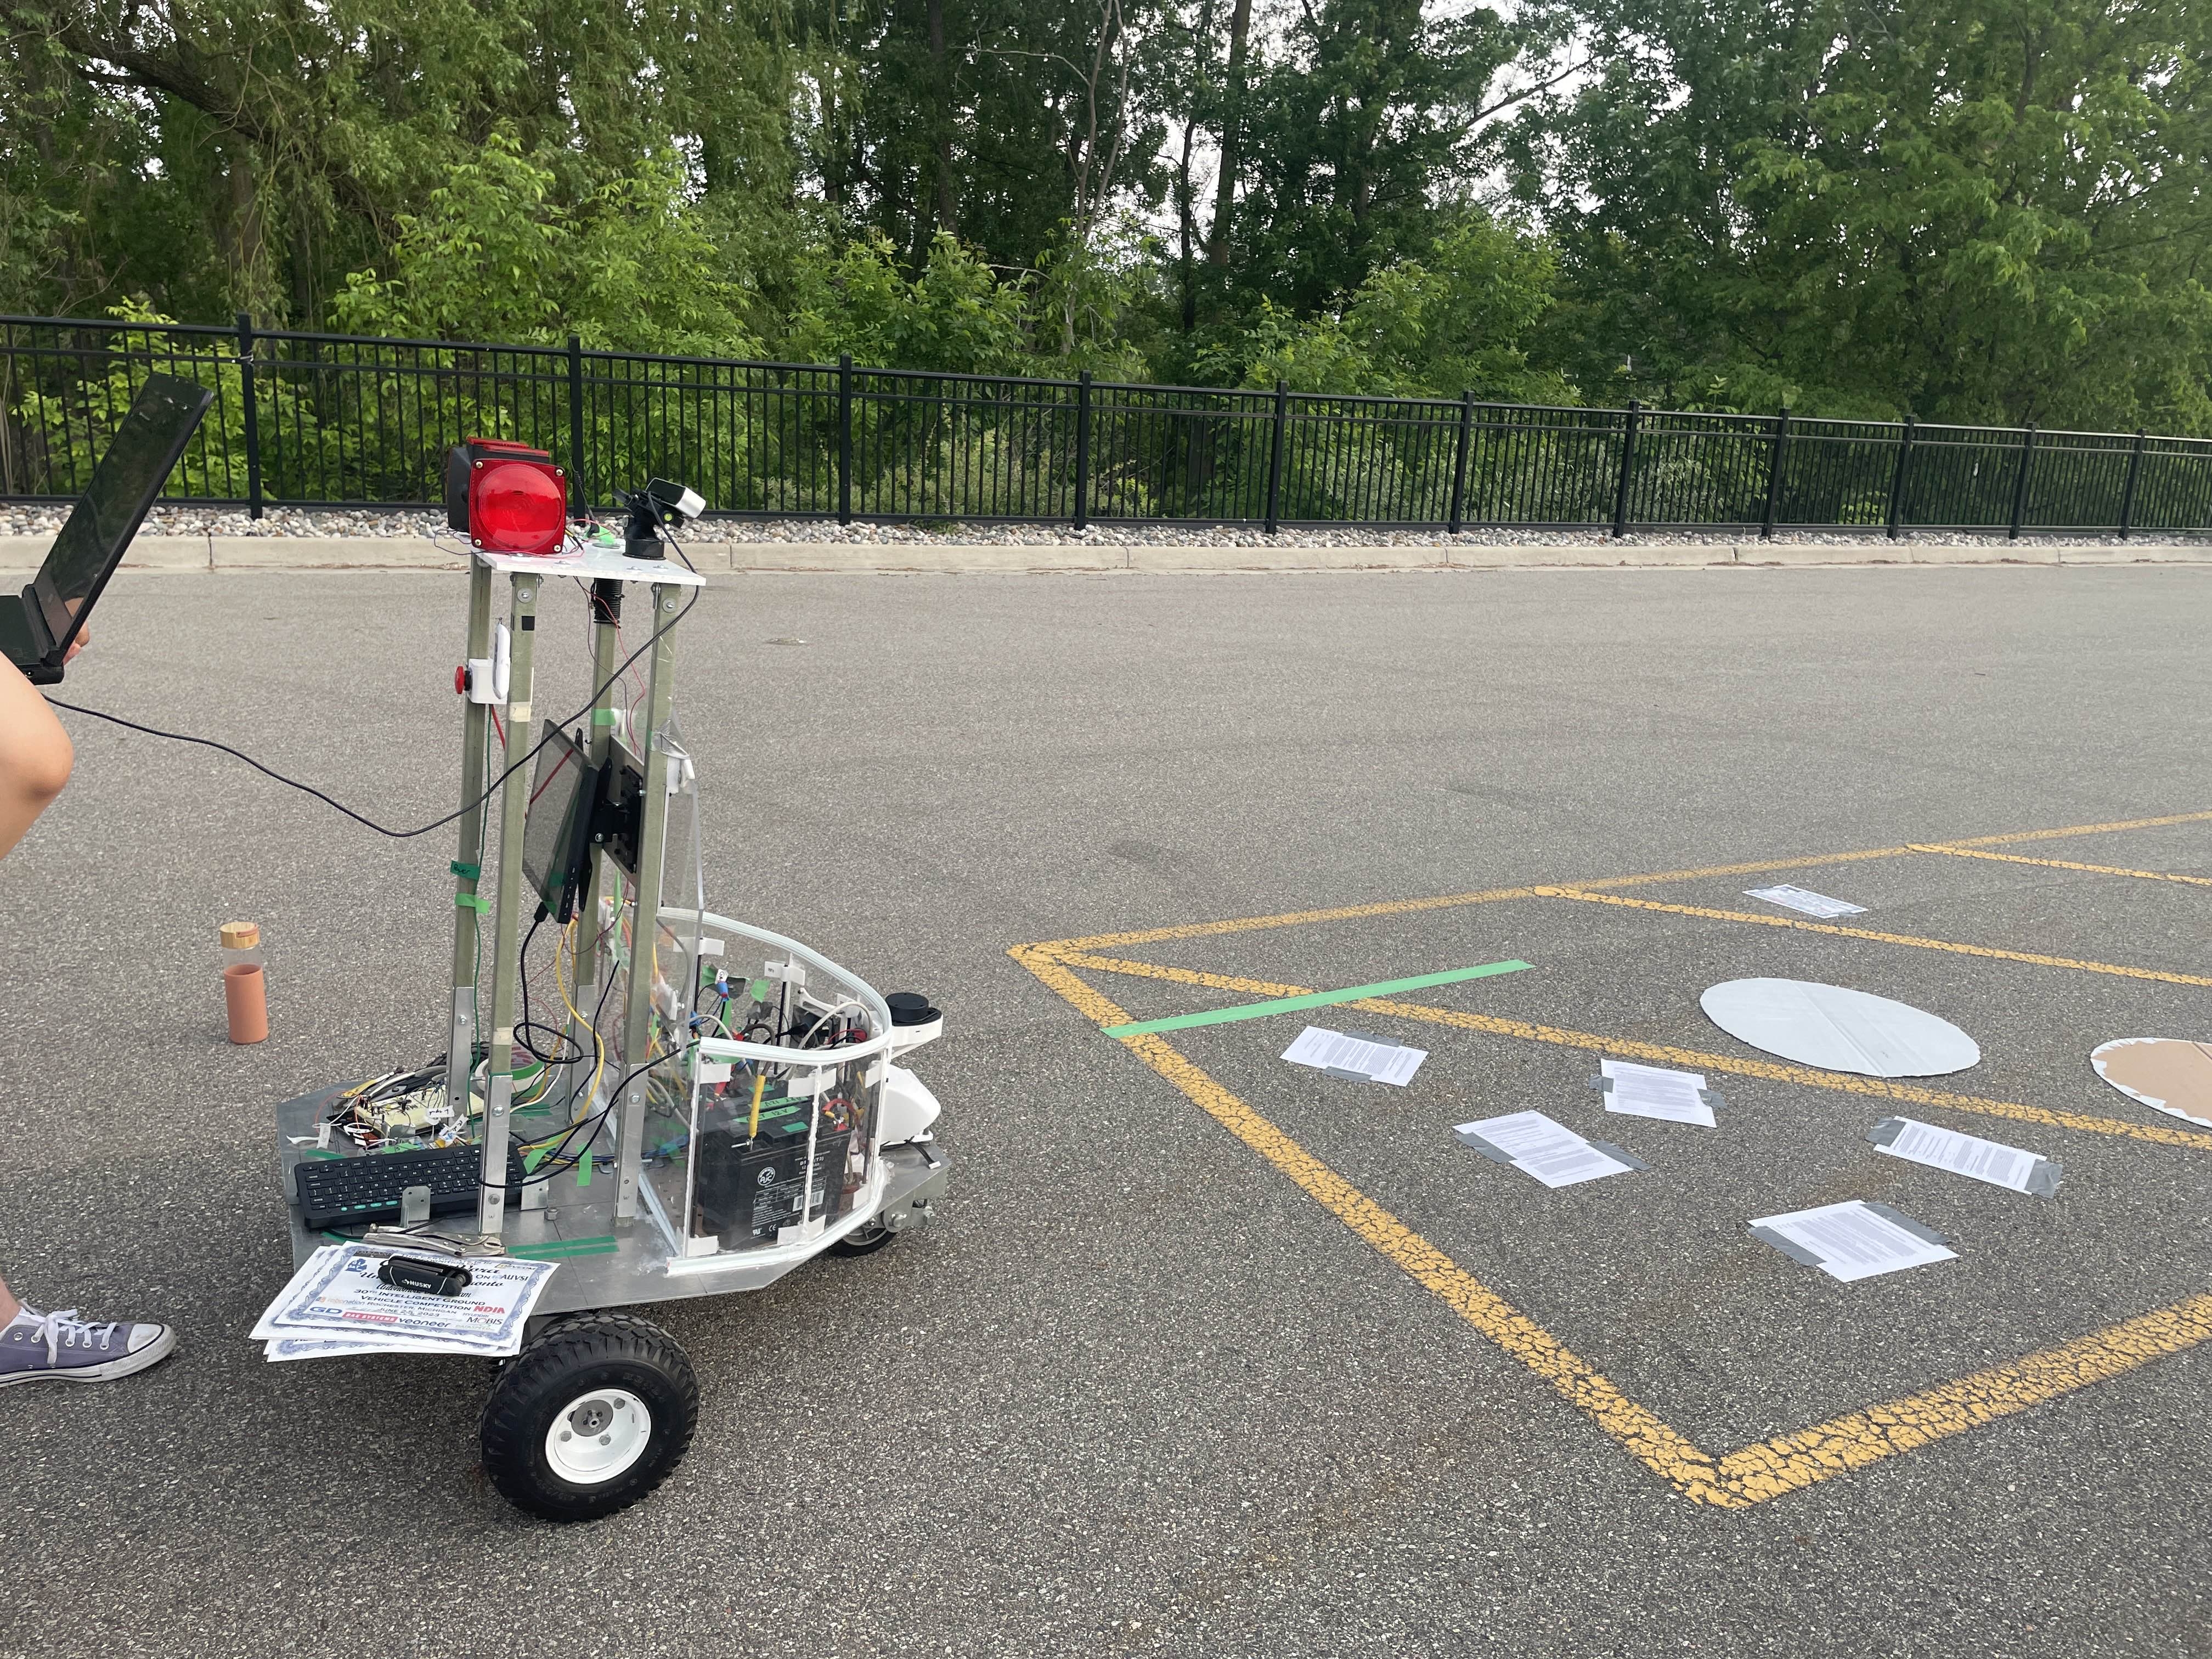
Our robot preparing to navigate across obstacles on the ground.
We took our robot to compete in IGVC 2023 and the electronics no longer overheated during the hot, sunny conditions of the outdoor competition. Water-testing the new enclosure showed that it was also watertight and adding a magnetically-fastened lid significantly improved the accessibility of the electronics. The new TV mount was secure and easily troubleshoot software issues from the on-board computer.