Situation
During my summer research project for my Masters of Engineering, I investigated how to build a low-cost stereo endoscope imaging tool for robotic surgery. Current endoscopic imaging systems from Olympia or Stryker typically cost over $10,000 to purchase. My project’s objective was to find a low-cost alternative that could obtain images of comparable color-accuracy and resolution, as well as stream video under comparable amounts of latency.
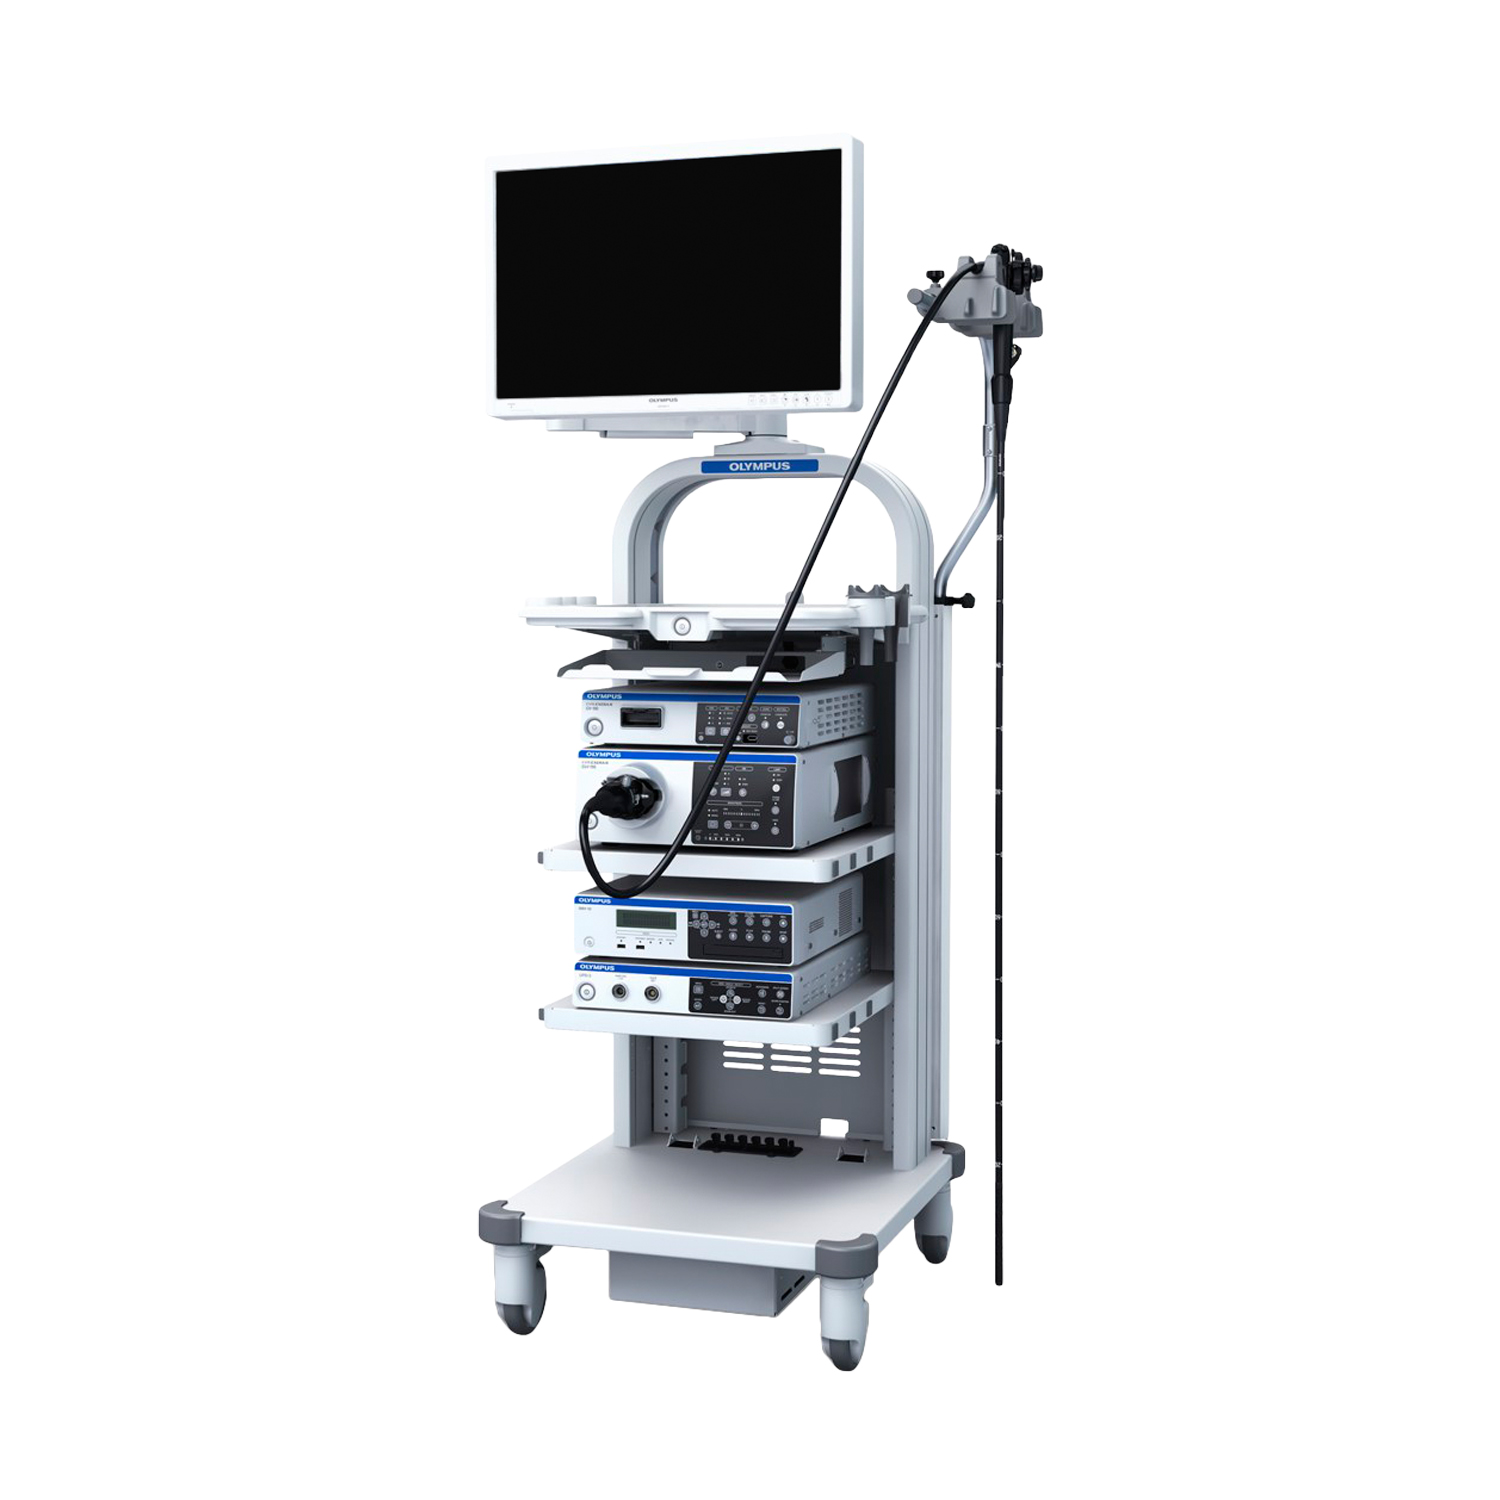
A commercial endoscopic imaging stack typically includes an endoscope, a video capture card, and a monitor for display.
Methods Used
Although entire medical imaging systems are expensive to obtain, their individual parts can be purchased for much less. A cost-effective way for imaging through an endoscope is to combine the lens of an endoscope with camera sensor electronics to create a custom imaging tool.
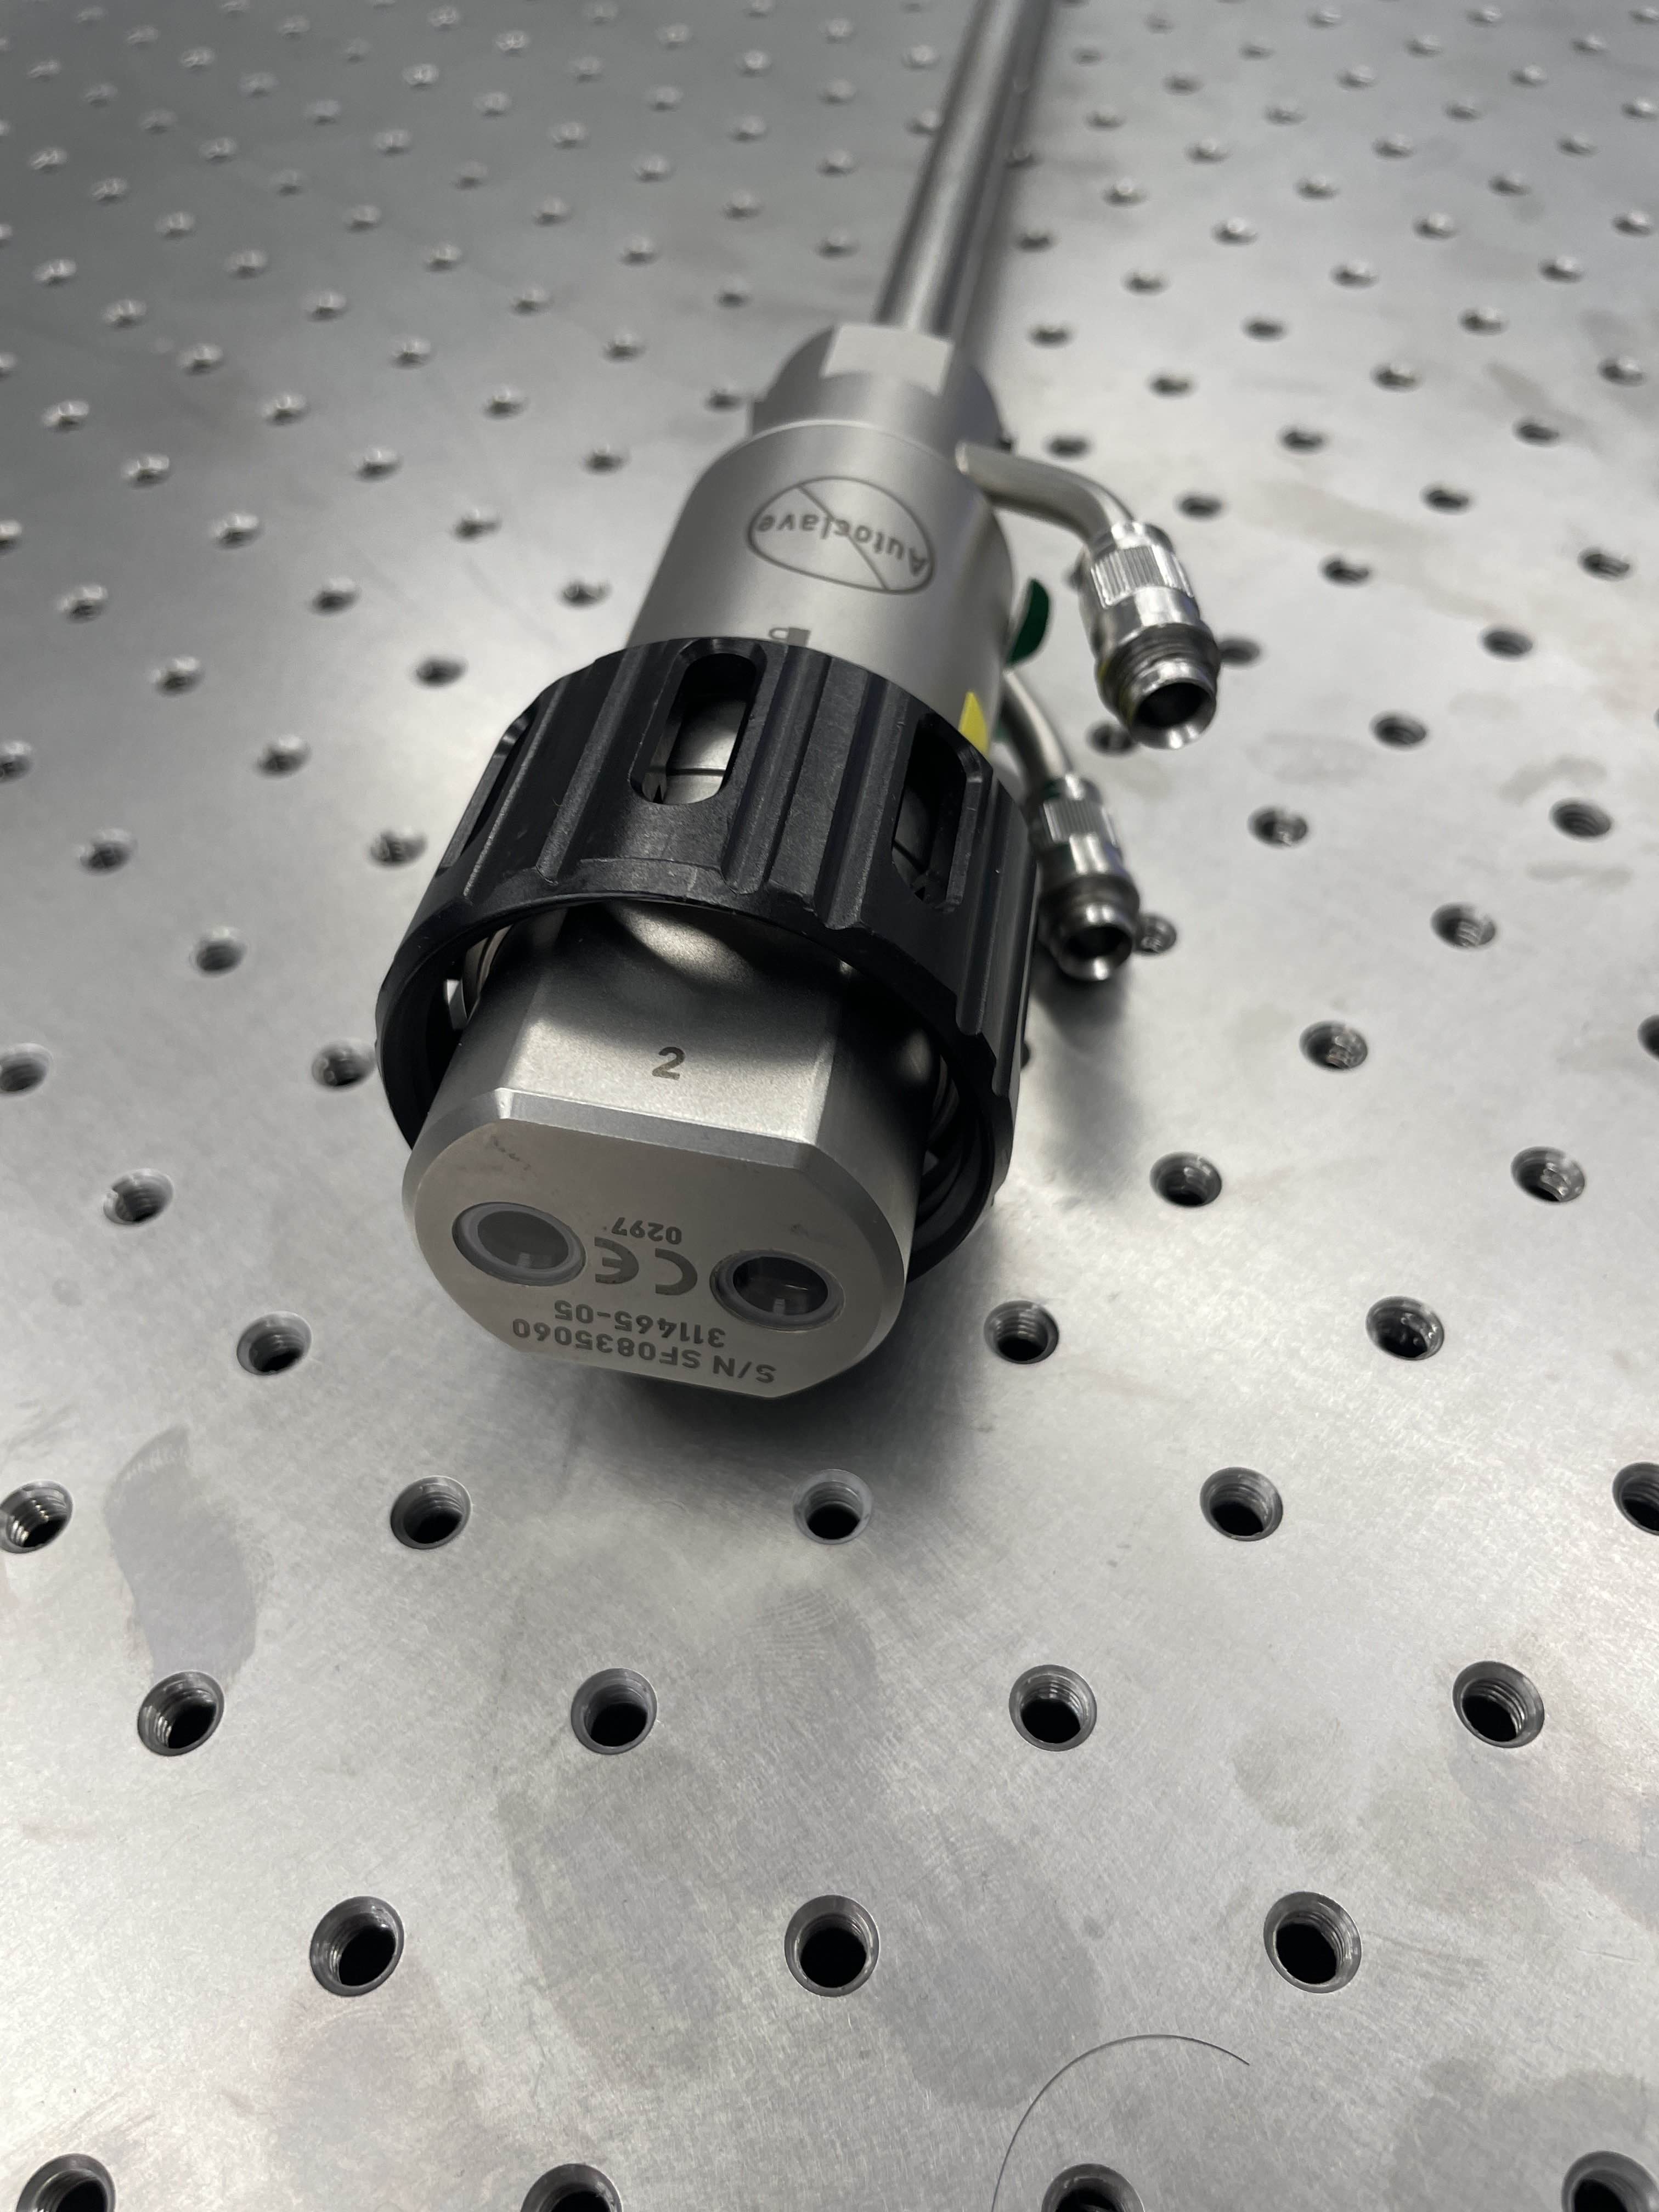
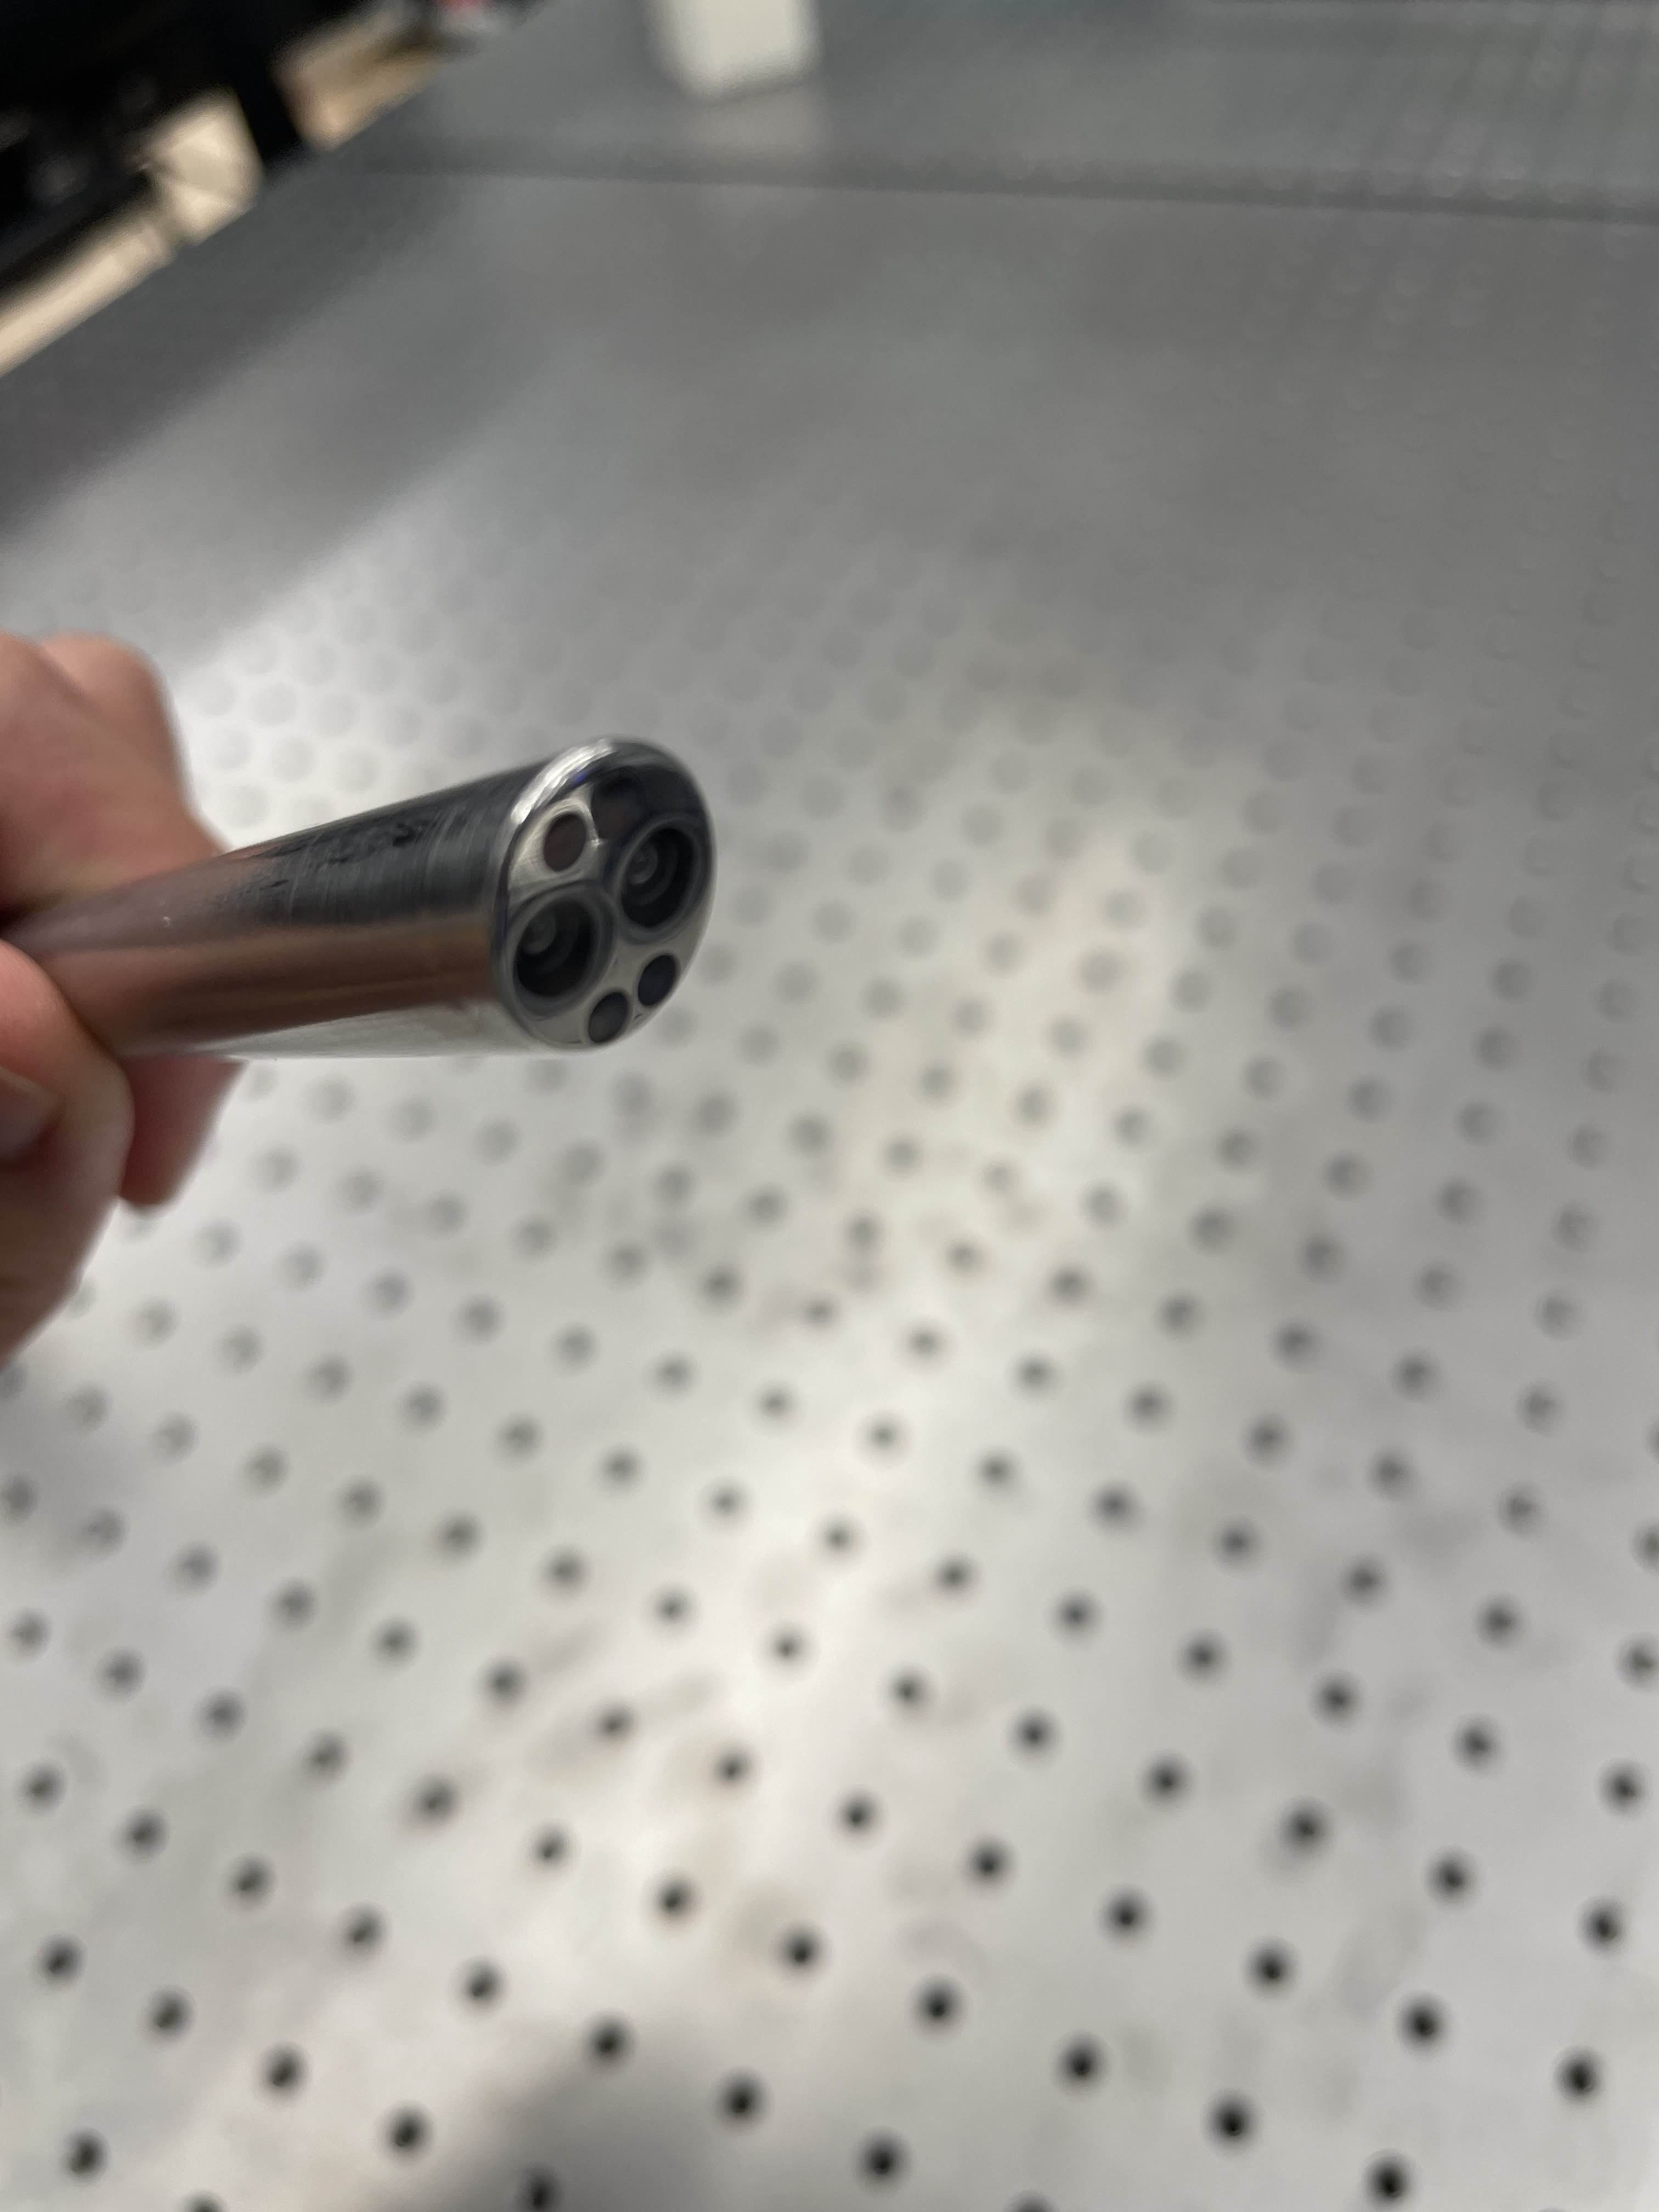
Left: The viewports of the endoscope. / Right: The tip of the endoscope.
I learned how to create my own digital camera using commercial hardware bought piecemeal from the electronics market, and combined it with custom optics made from the endoscope. I also designed new cases to hold the lens and camera together and then 3D printed them.
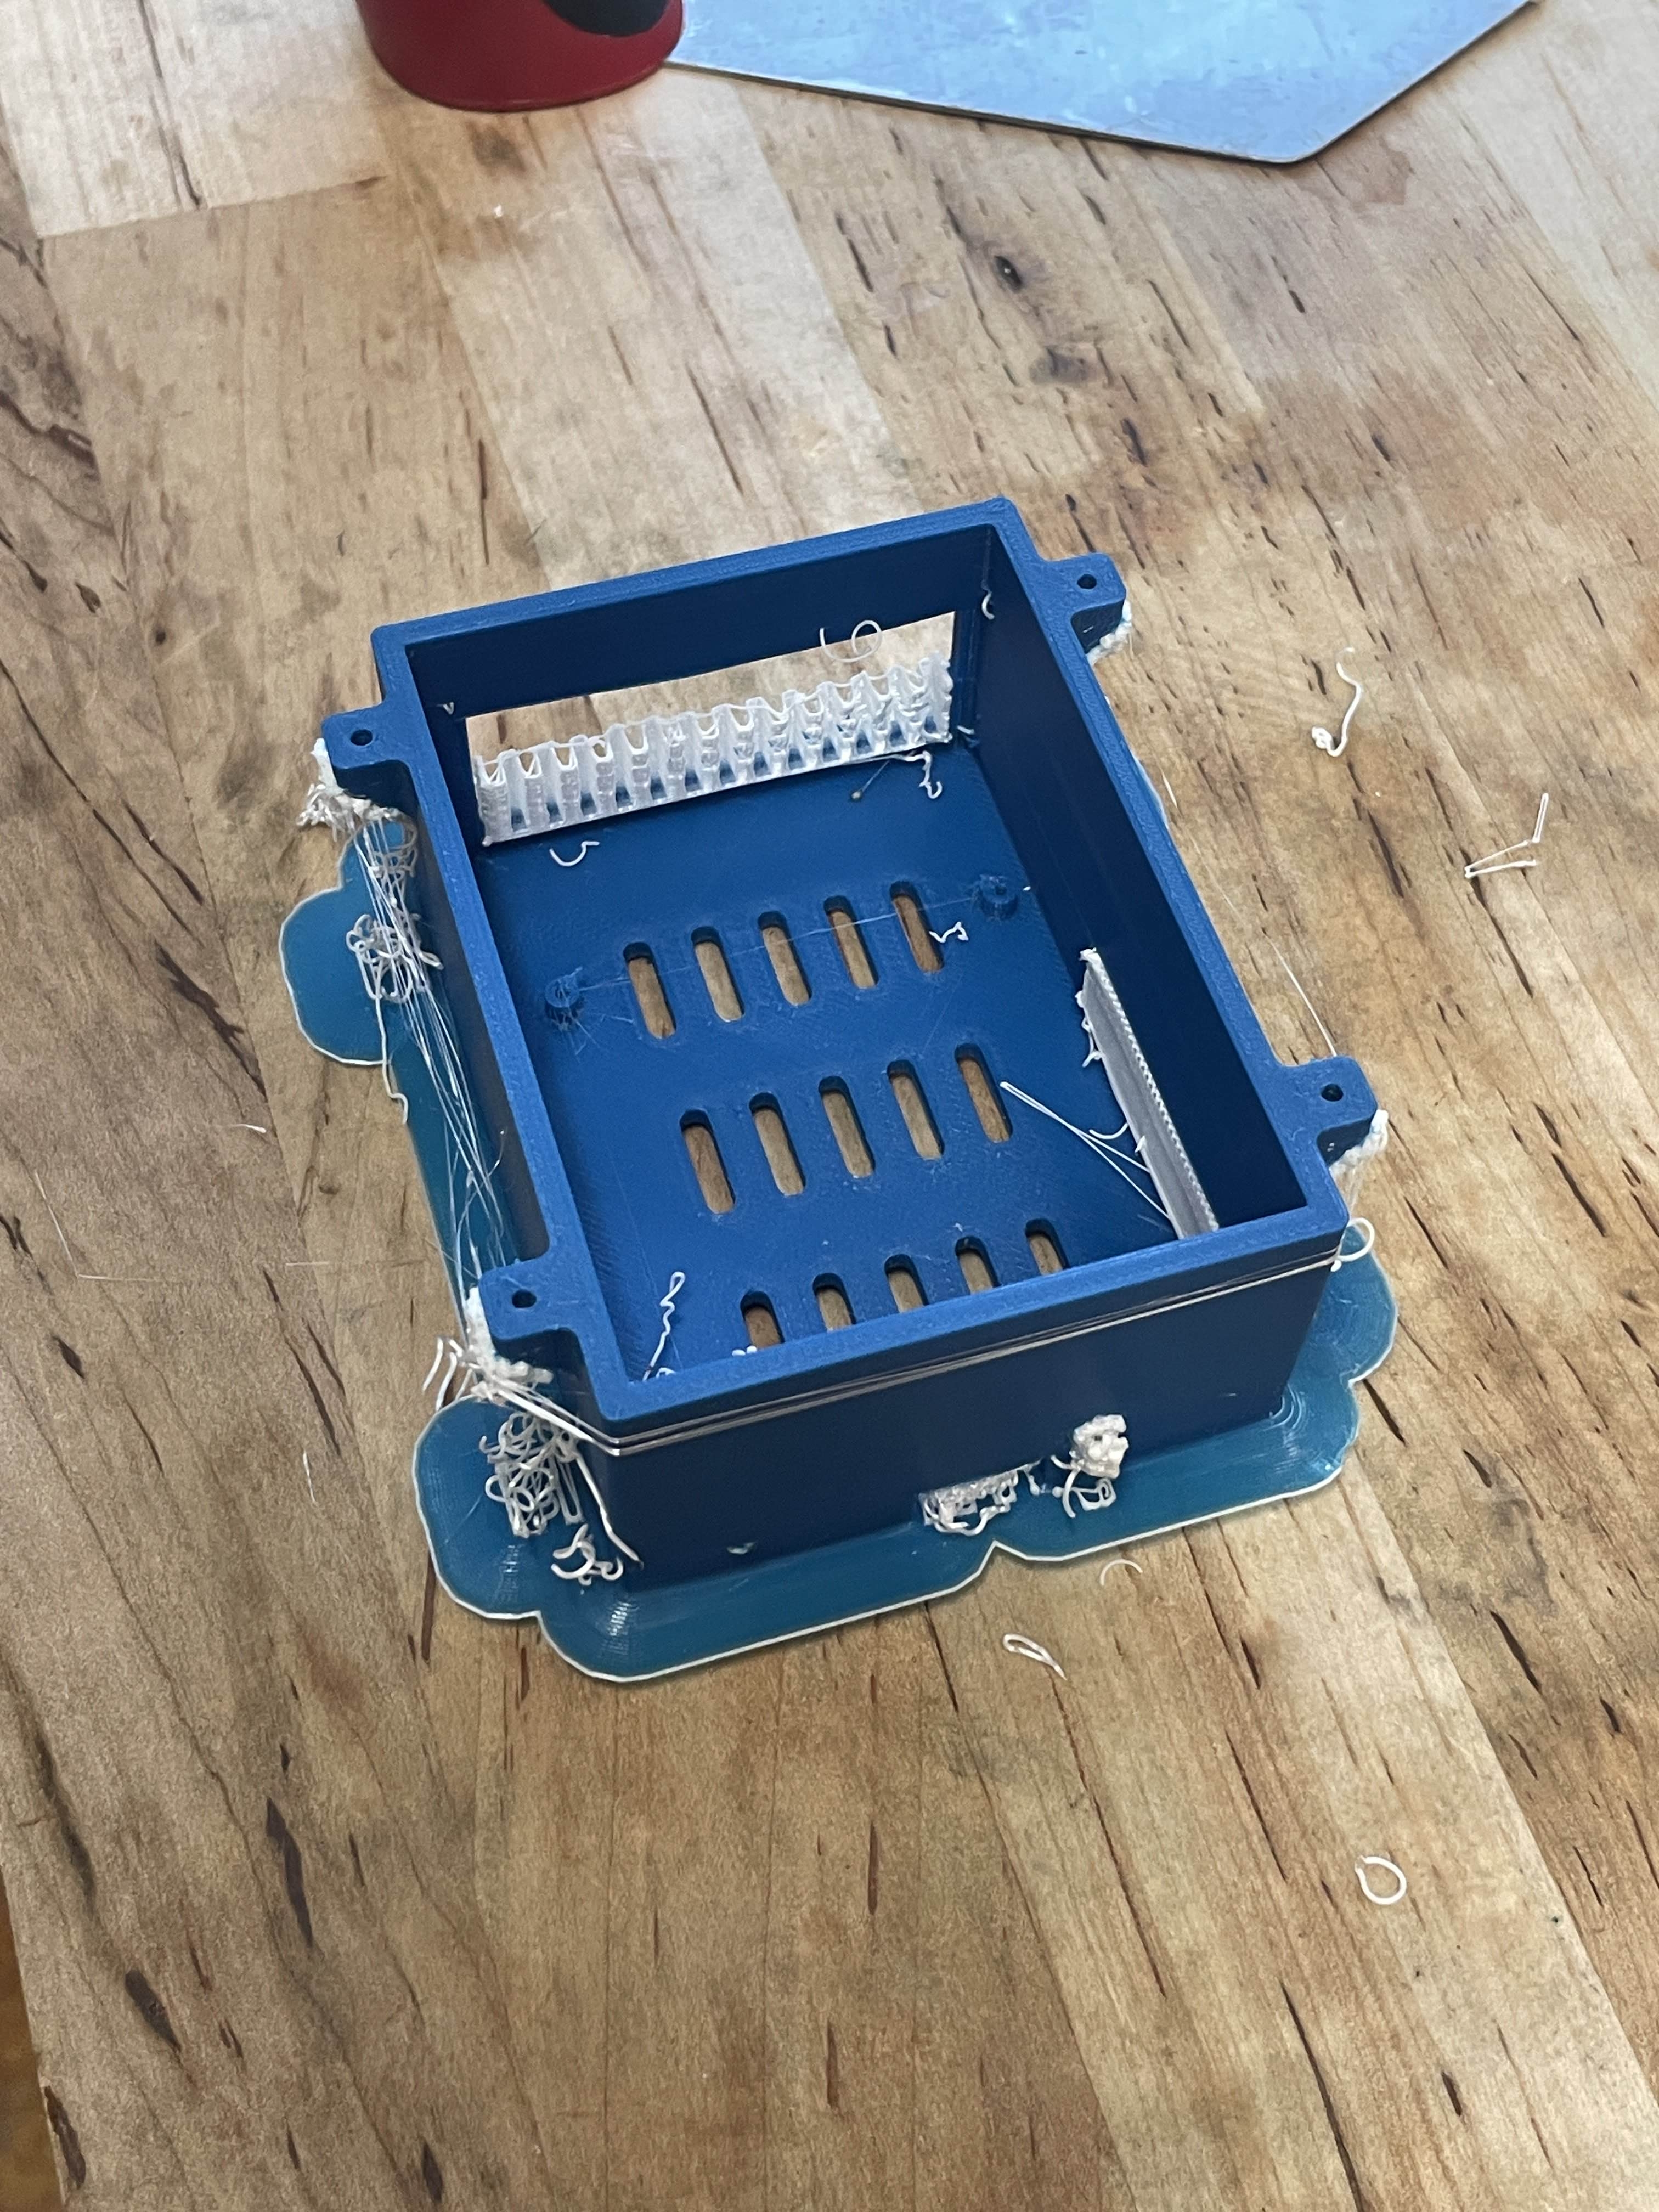
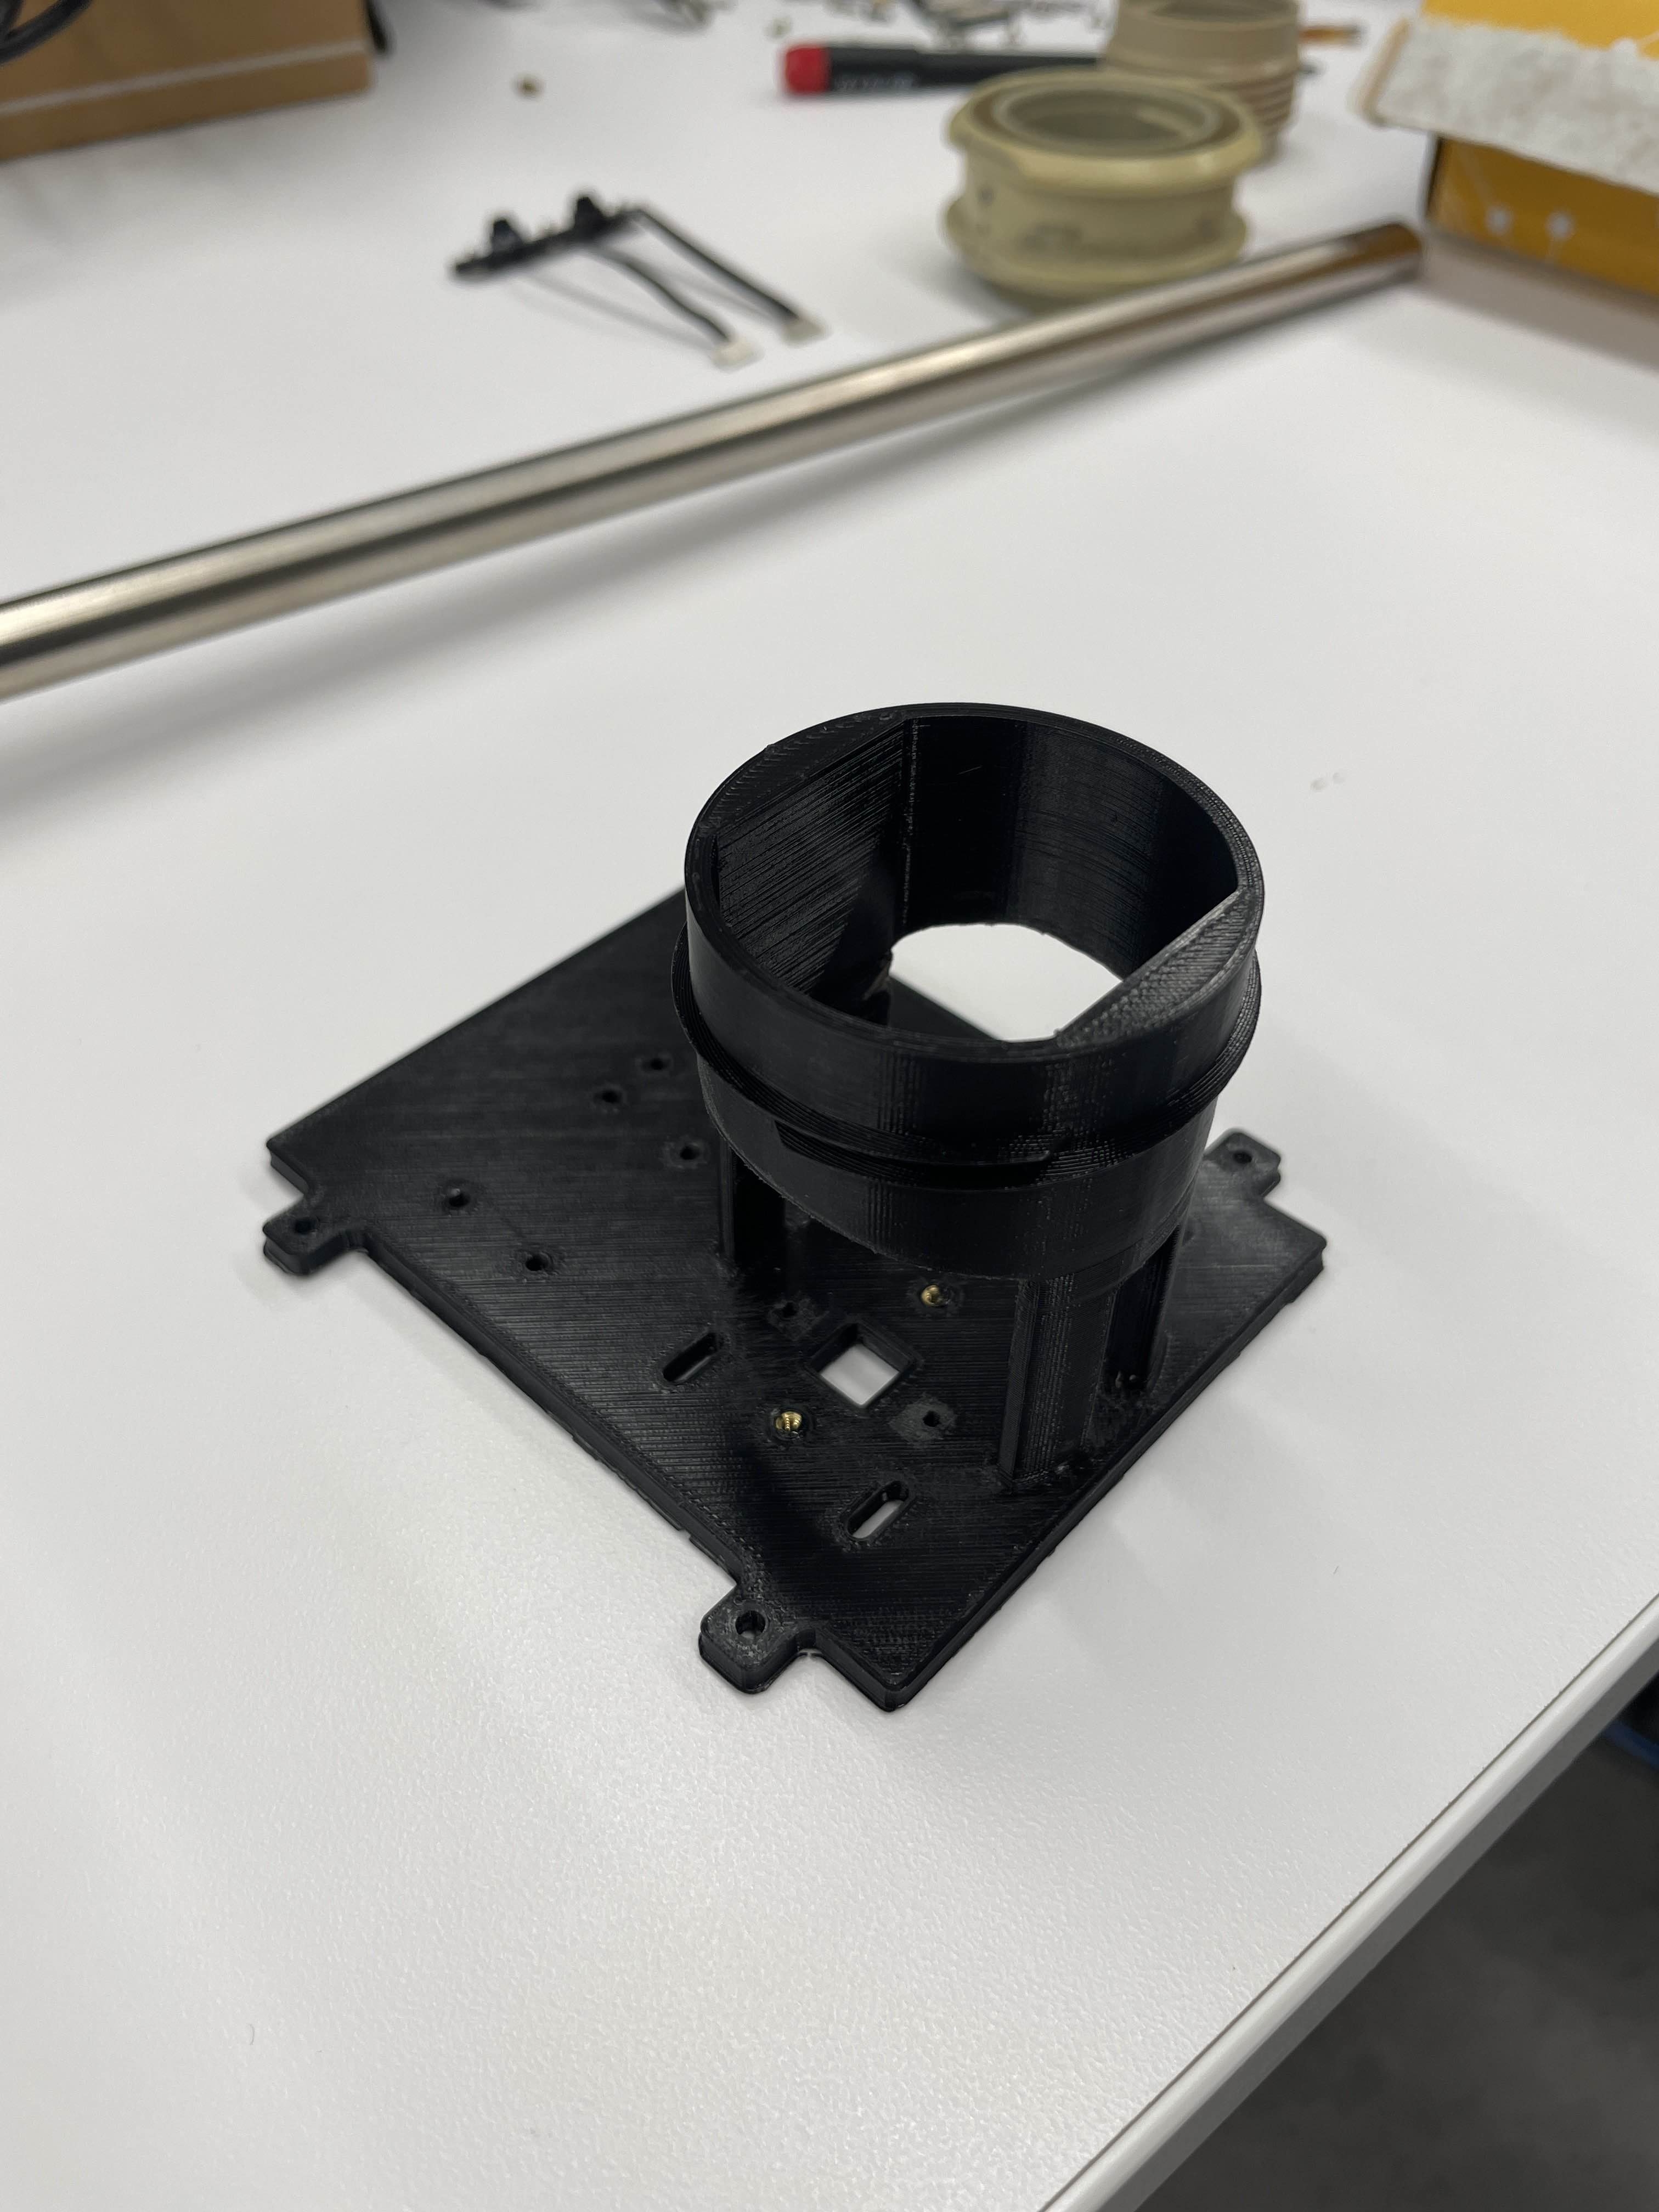
Left: The 3D printed case for the prototype. / Right: The 3D printed endoscope mount.
Creating my own digital camera involved learning a lot about camera sensor hardware and how to program them. It also required me to learn about camera optics, camera calibration, and objective measures of color quality. Towards the end of the project, I used what I learned to design an experiment with the purpose of measuring my custom imaging tool’s performance. I used the tool to take test images of a color chart, then I used MATLAB to analyze them and determine how far away the color values were from expected. The CIELAB Standard had provided much useful guidance towards this objective.
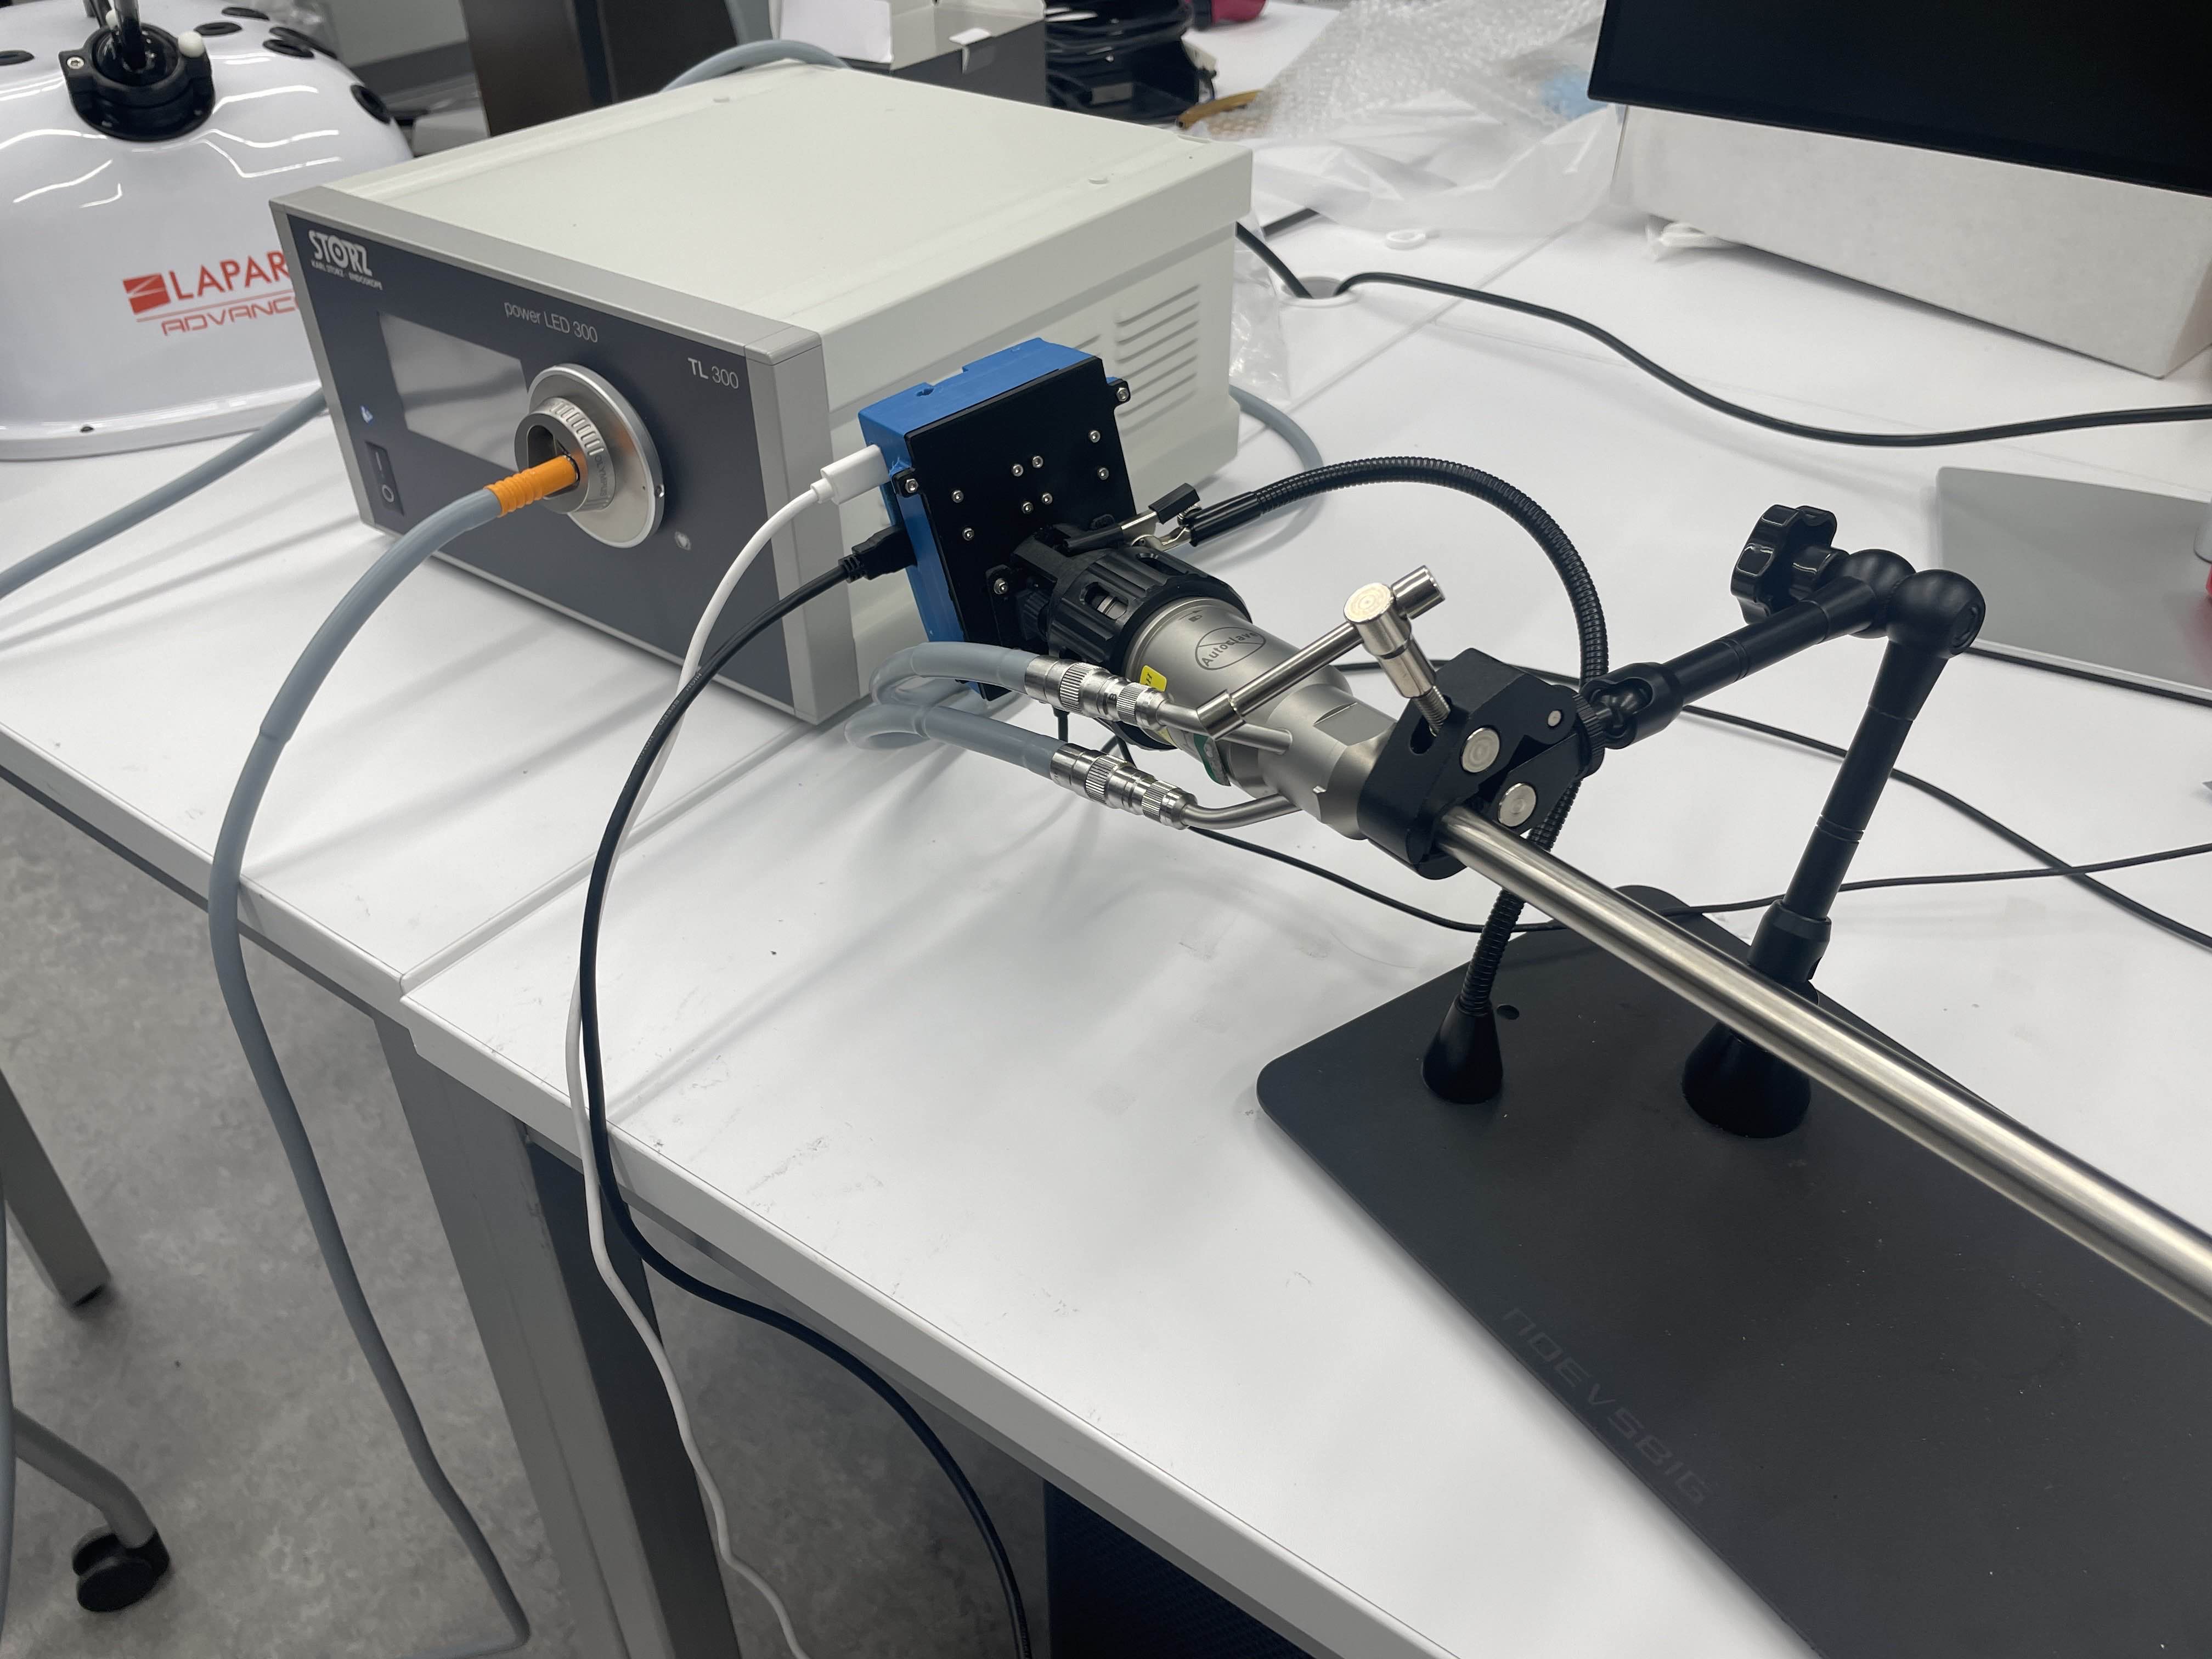
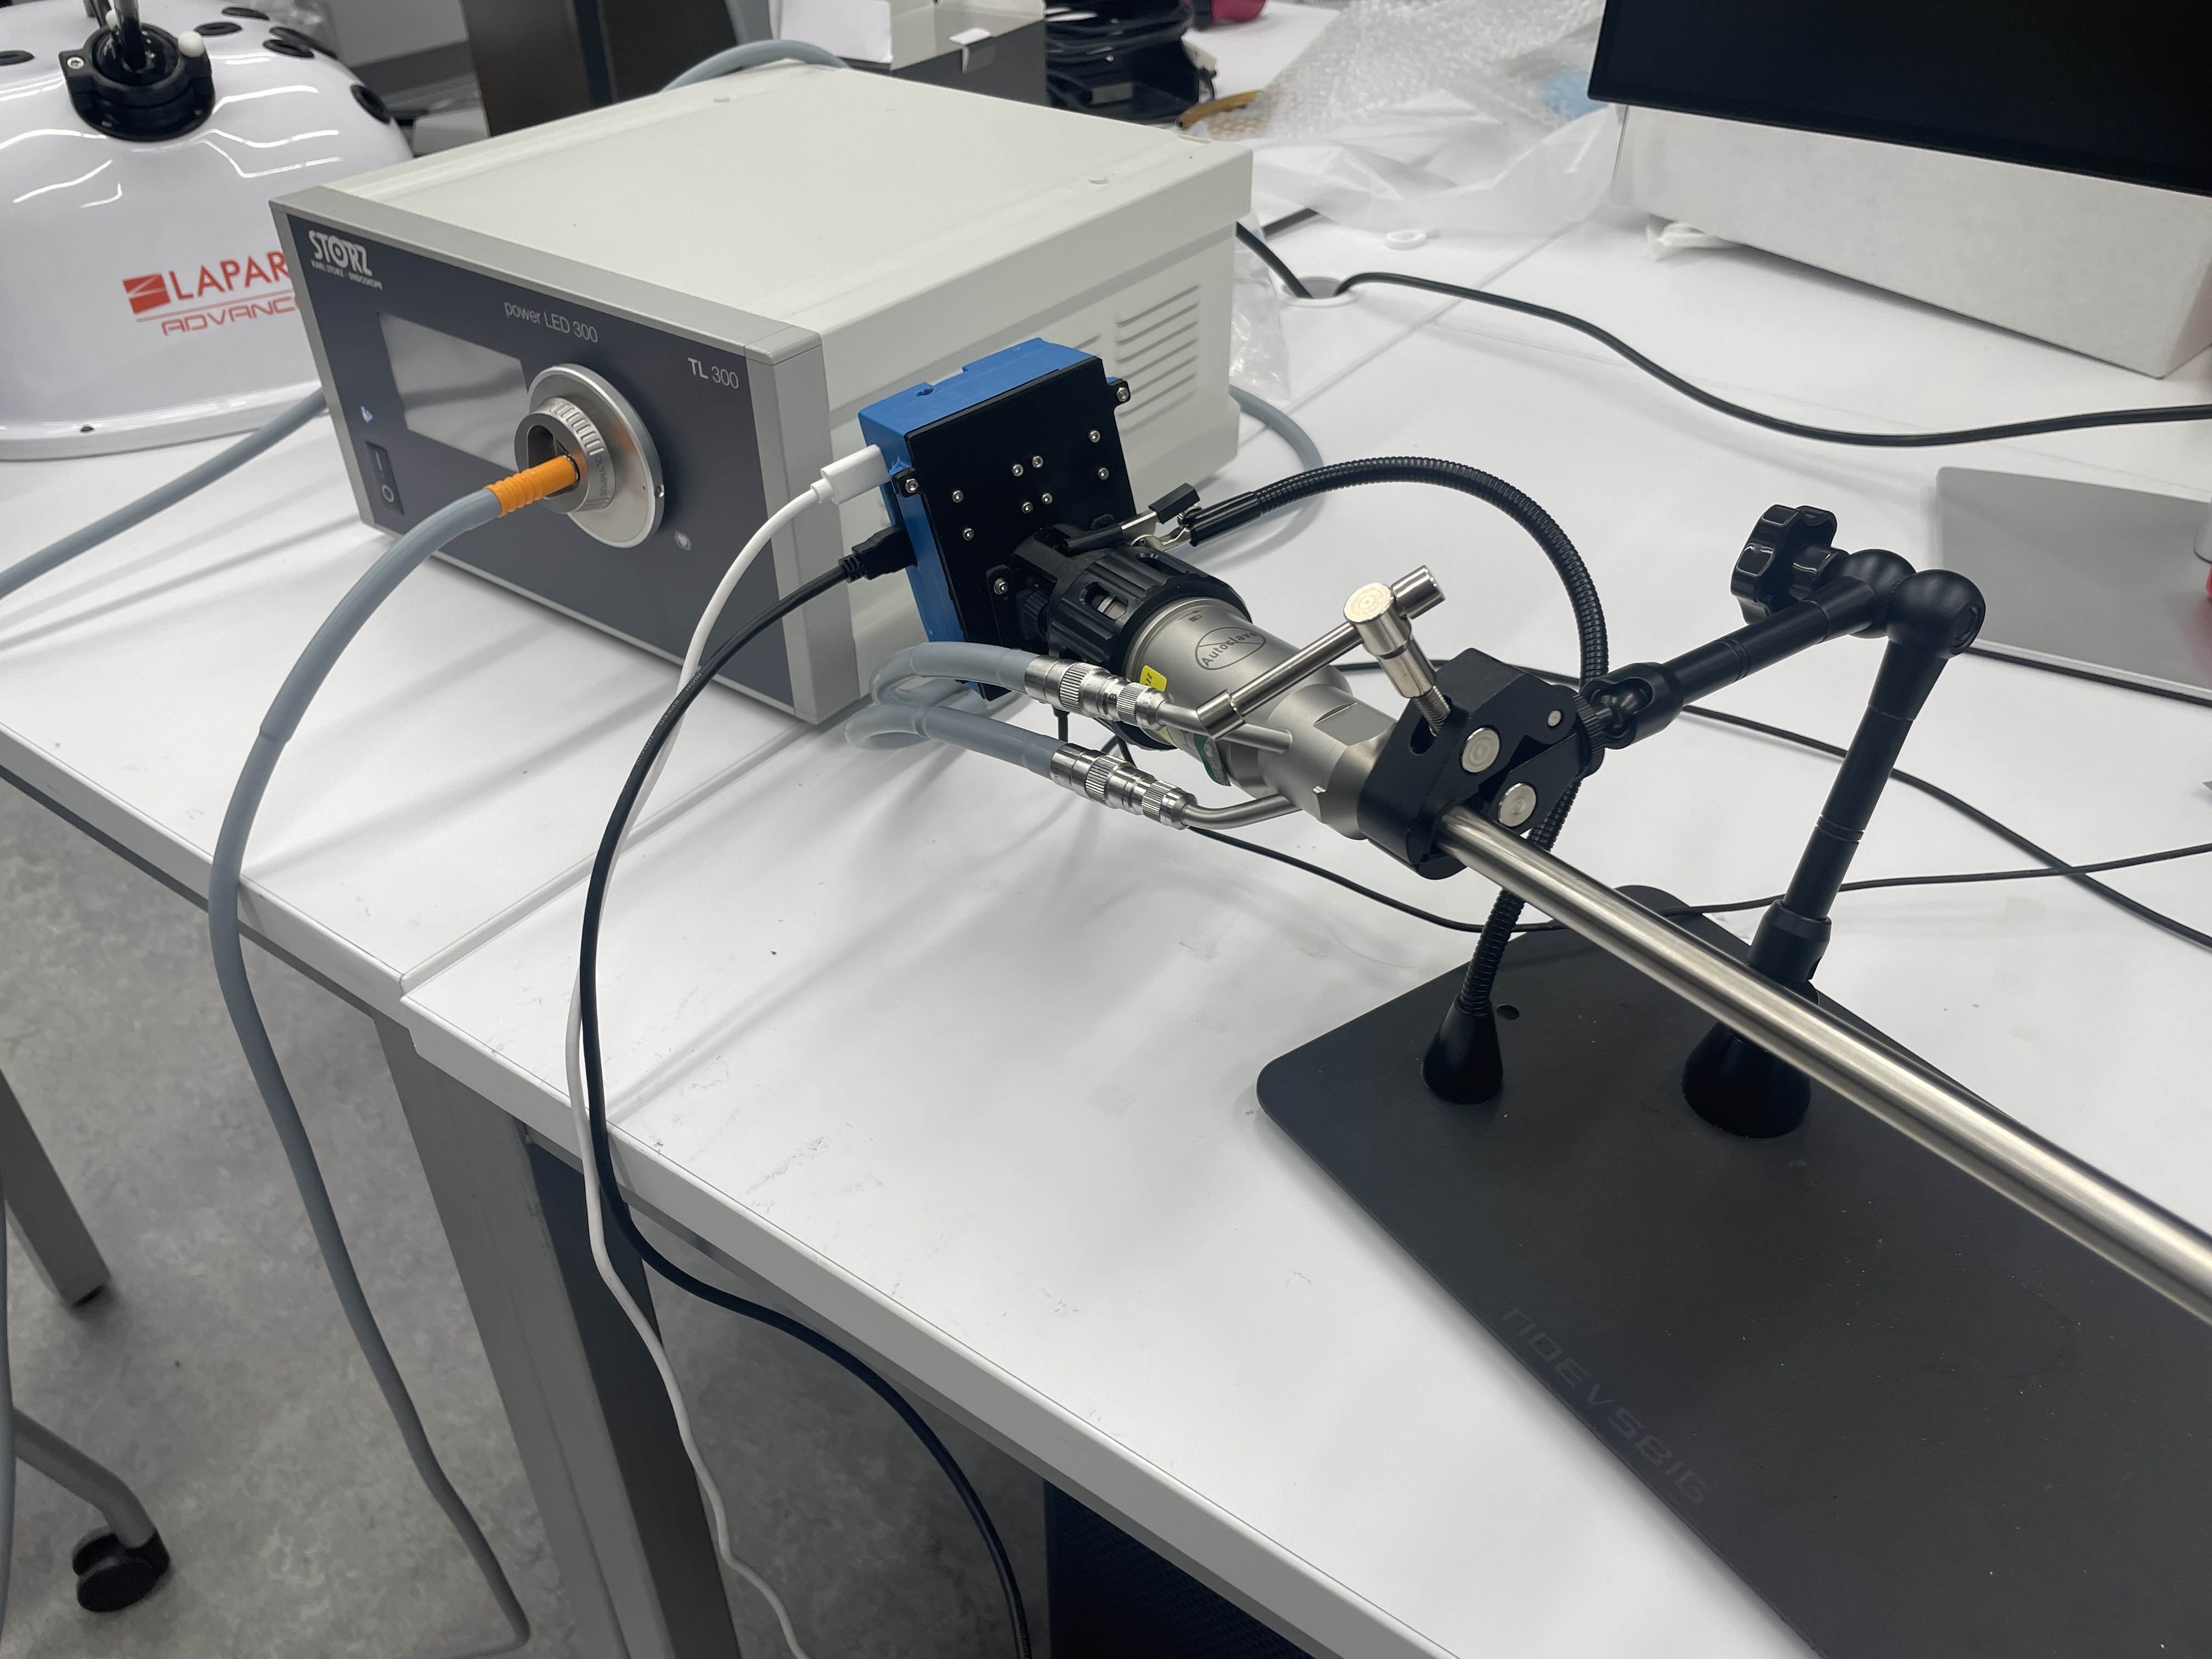
The final prototype after assembly.
Outcomes
Using a camera sensor with a lens it wasn’t designed to work with had discolored the images, however, I was able to resolve the problem by recalibrating the sensor. Using a different camera sensor had improved the resolution of the imaging tool and allowed it to image fine details. However, the results from the color accuracy experiment were inconclusive, and further work needs to be done to objectively measure the color quality of the tool. Although timing the video lag to stream to a monitor using the tool showed latency, it was seamless and smooth when viewed by the eye and could be used to take videos.
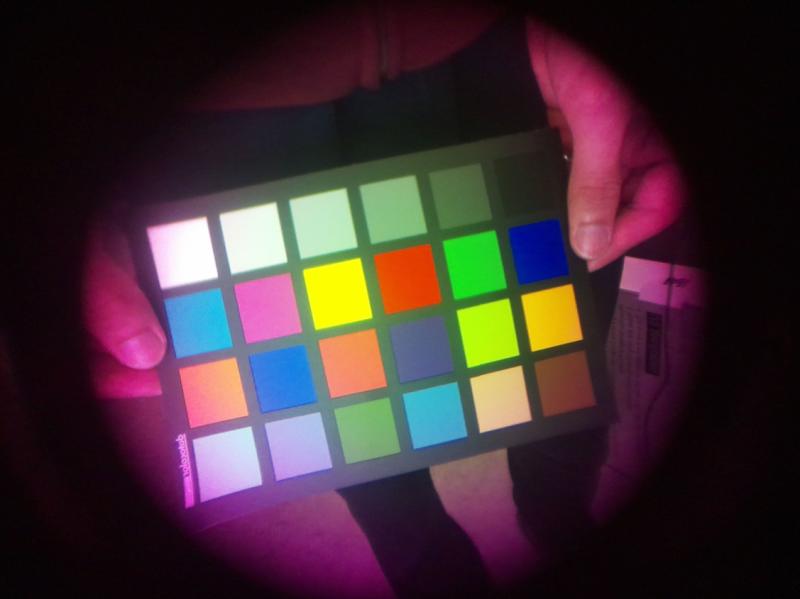
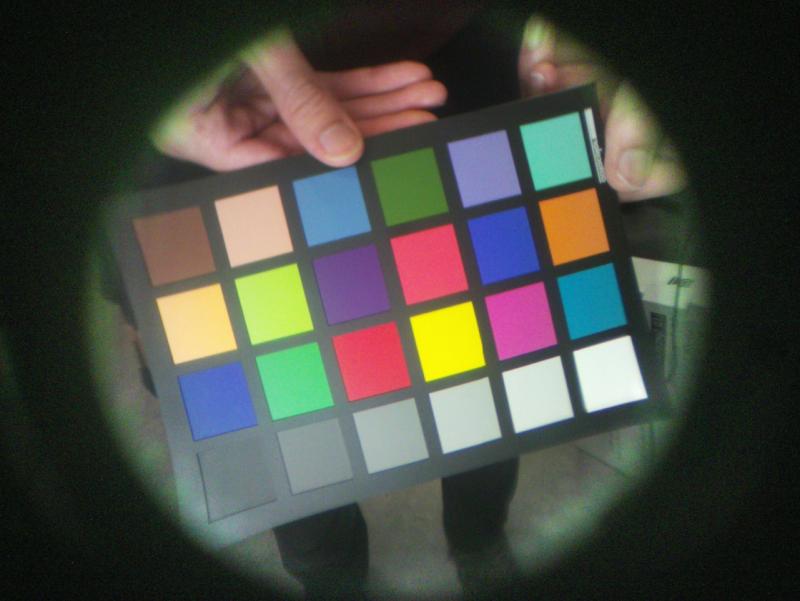
Left: Before camera calibration. / Right: After camera calibration.